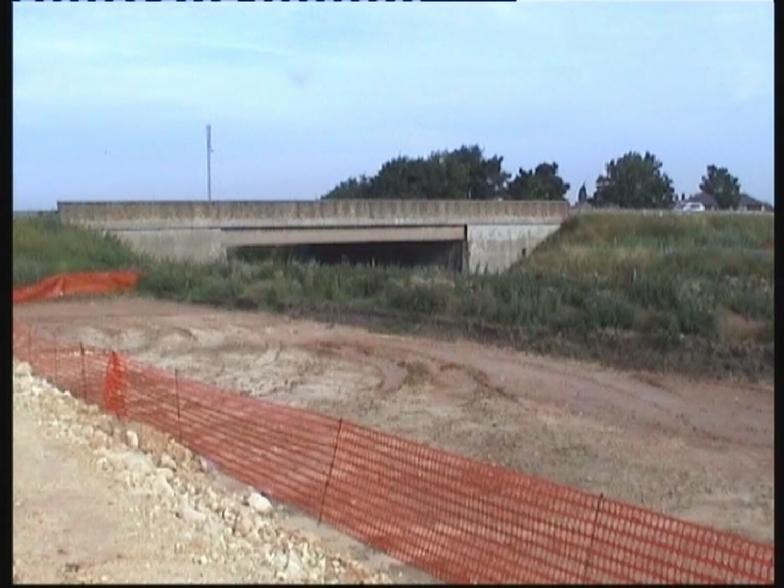
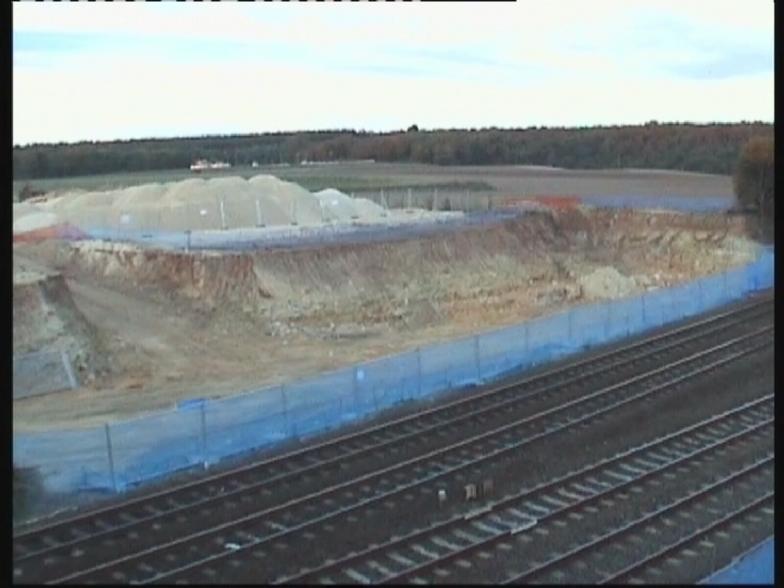
Existing Micklefield Railway - Top soil stripped from the build area to the East side of the bridge.
Existing Bridge - topsoil stripped up to the top of the railway embankment.
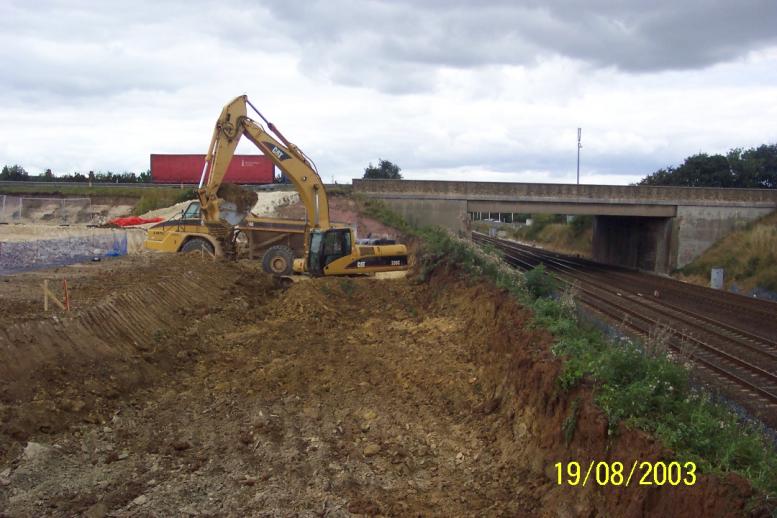
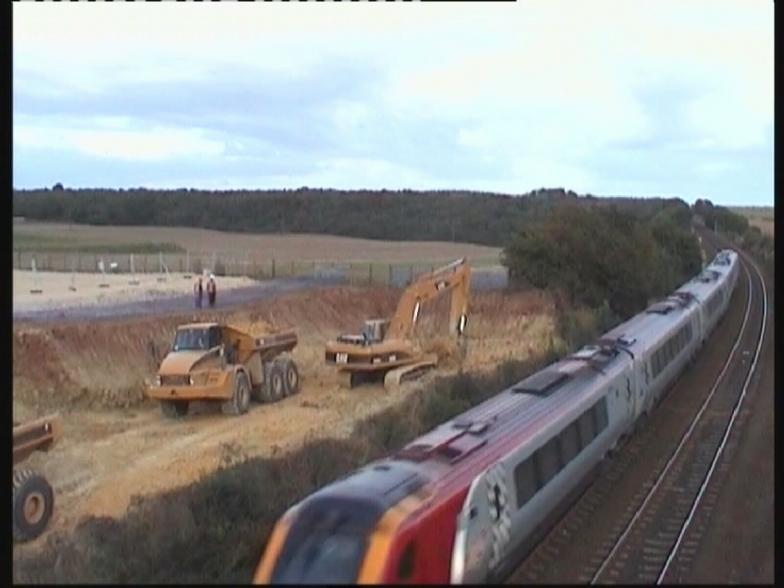
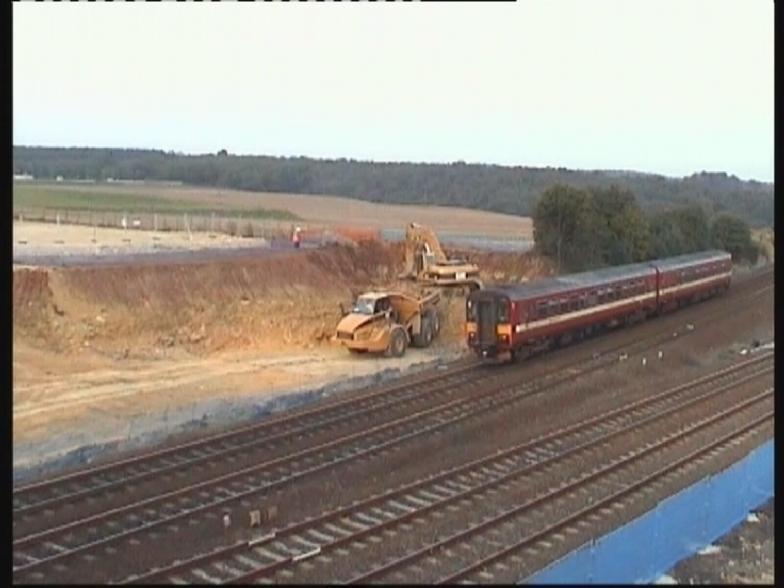
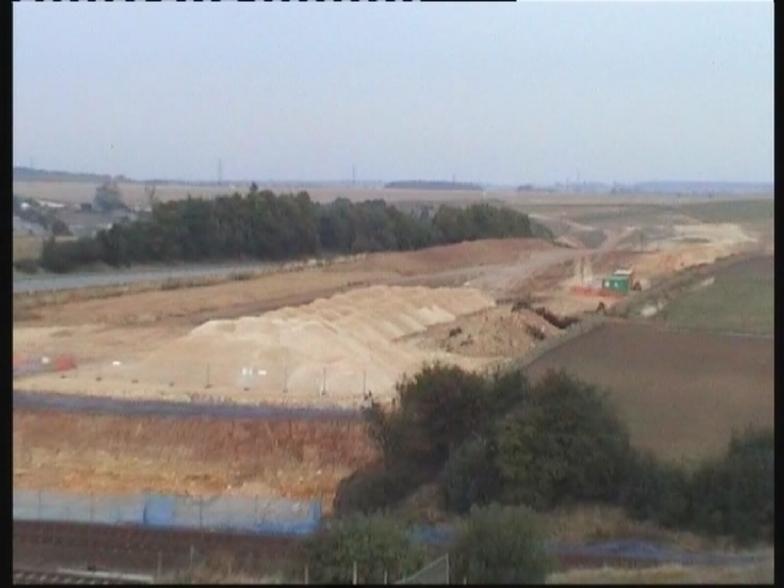
Bulk Dig on the Southern embankment work in progress.
Southern embankment being excavated during normal working.
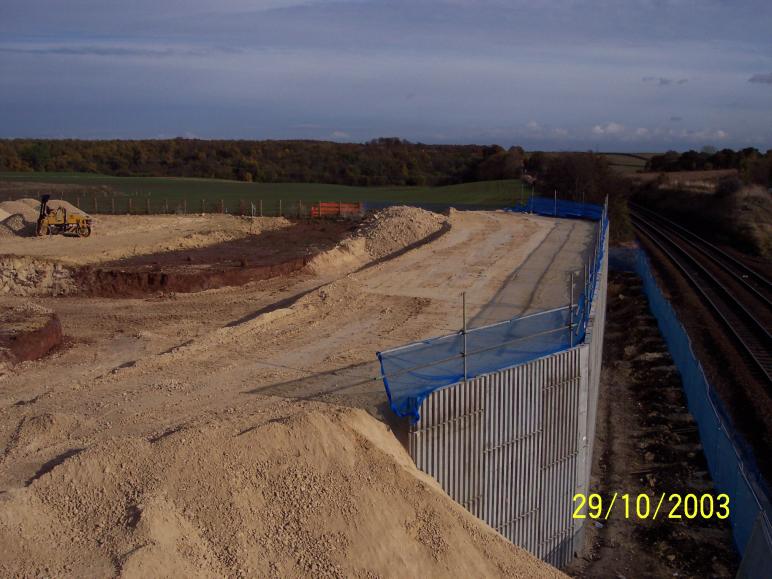
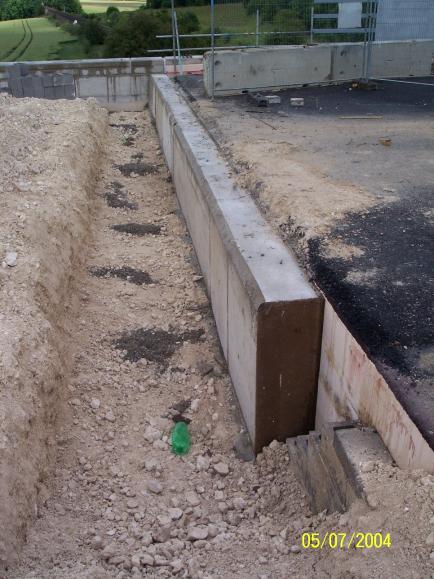
Site/railway boundary fence erected and concrete in on the south embankment.
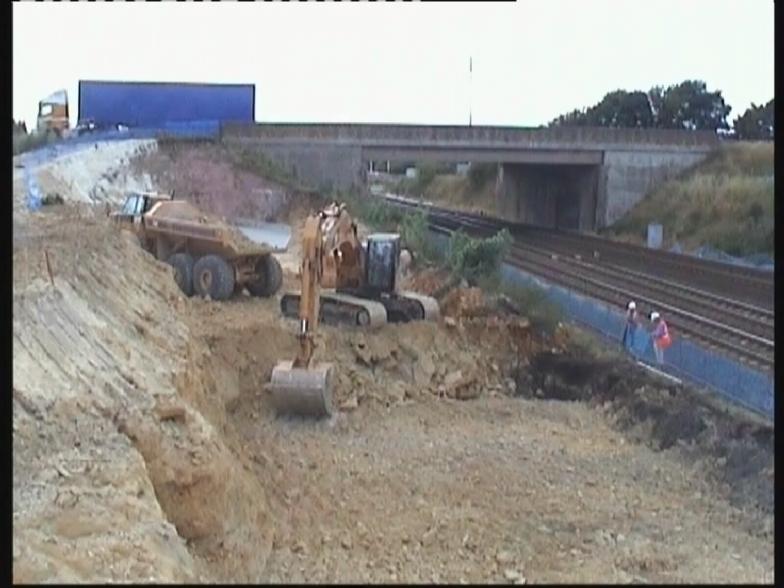
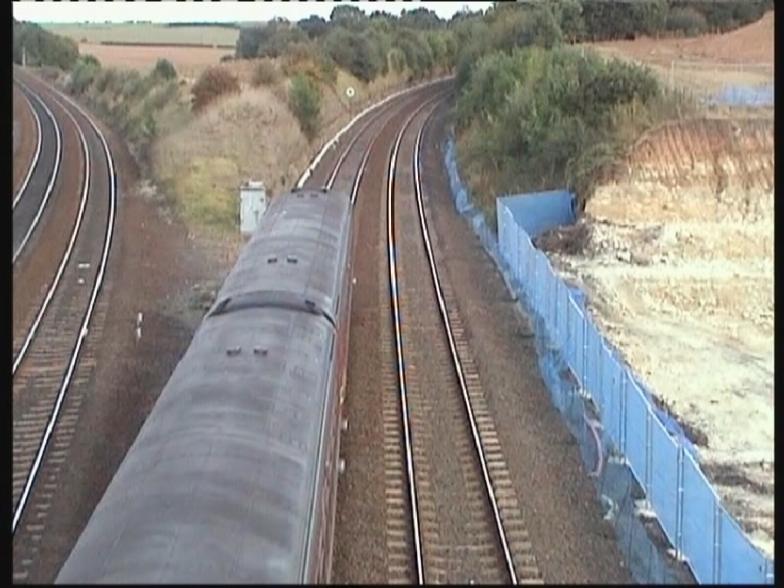
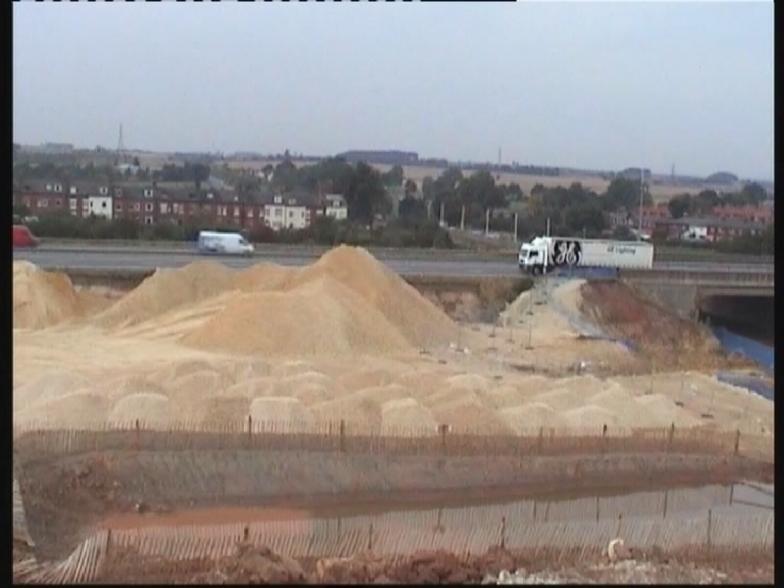
Bulk Dig underway on the North embankment - works being undertaken during normal working.
Bulk dig in progress on the North embankment.
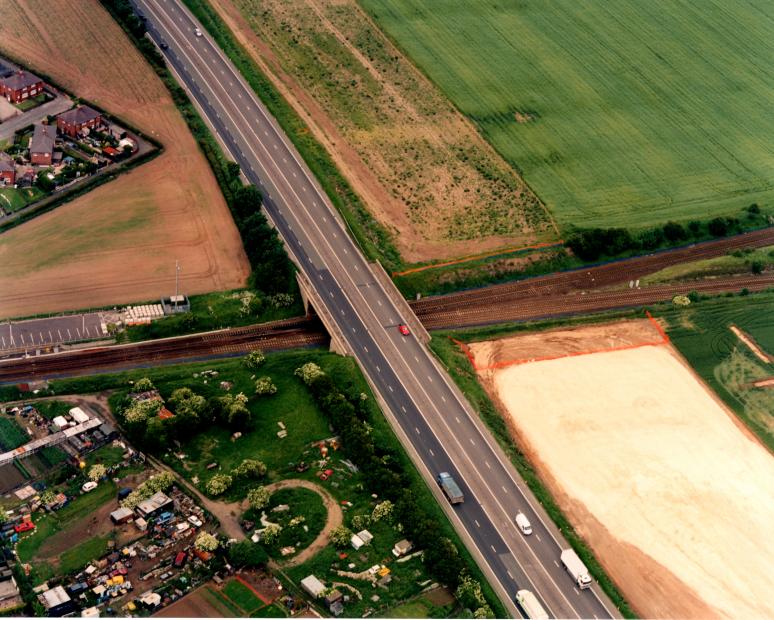
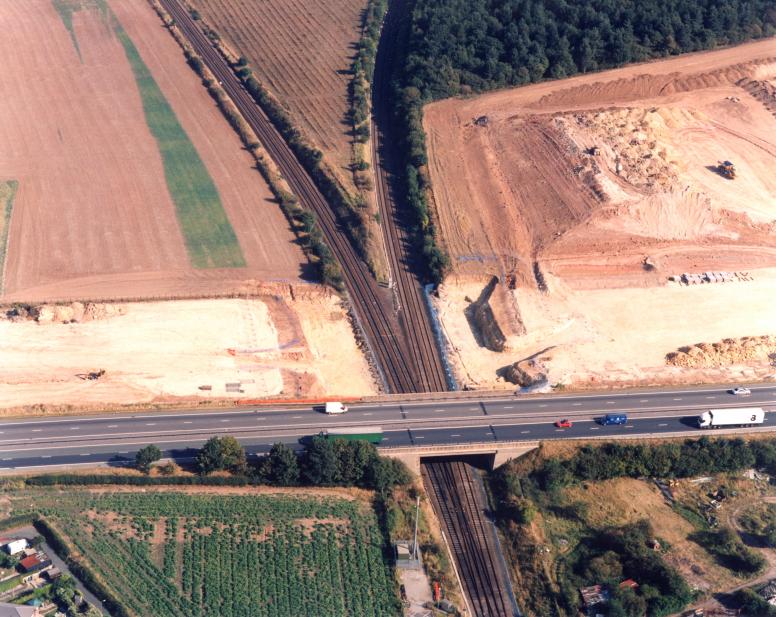
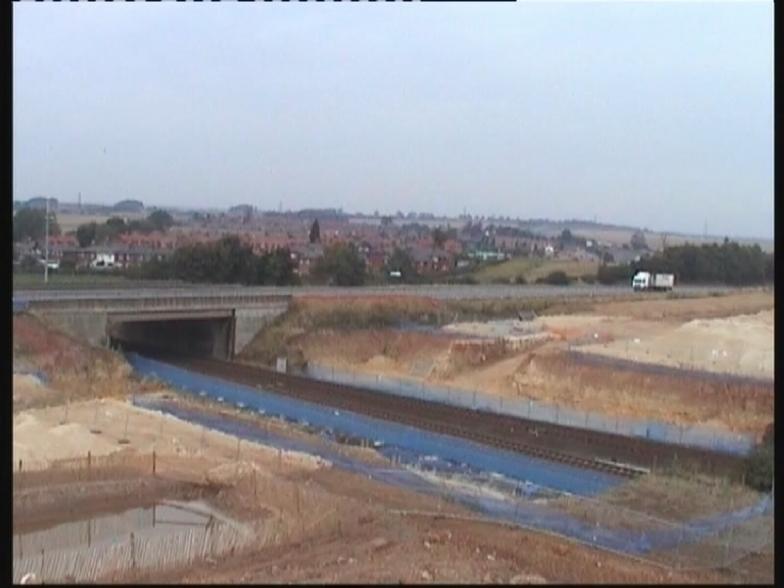
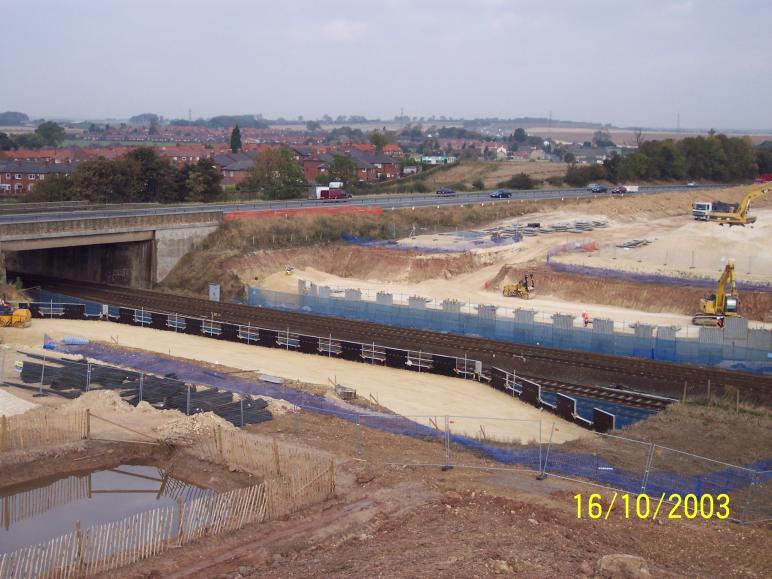
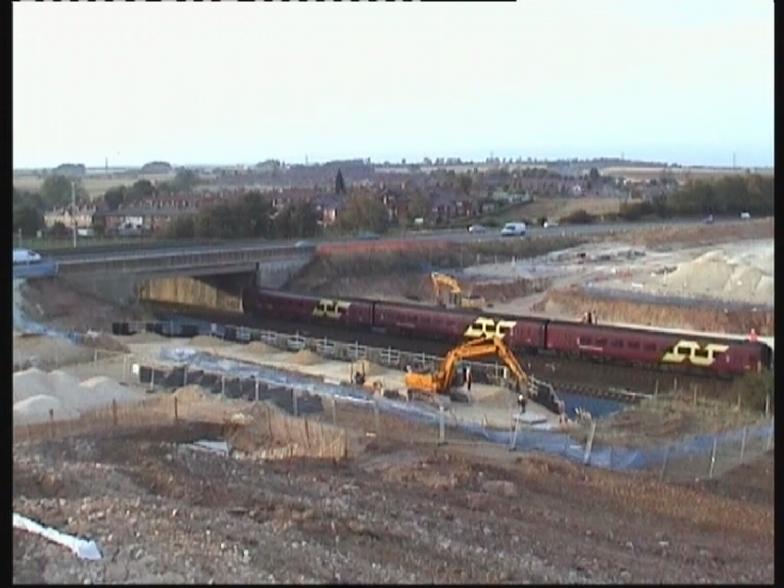
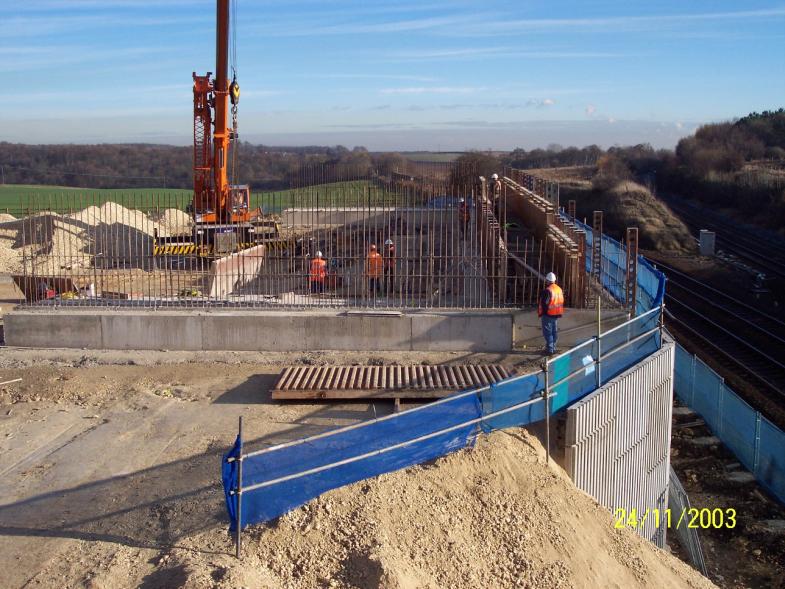
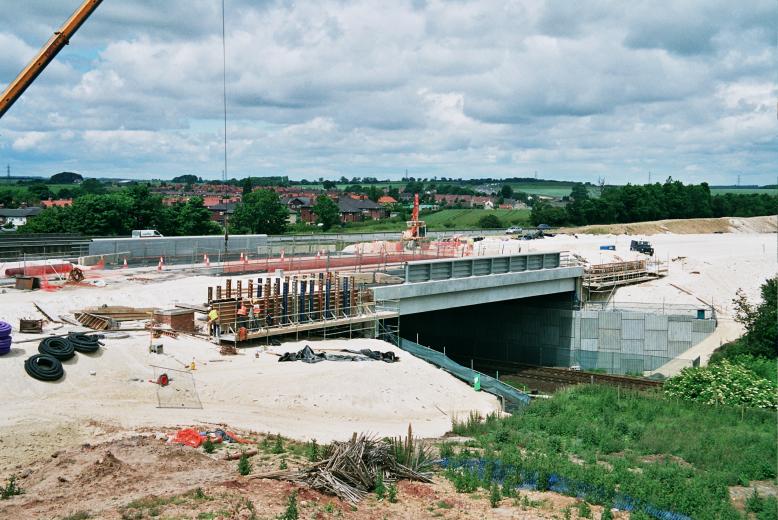
View on the site -Bulk dig in progress - existing bridge with the A1M running over.
North Abutment - Boundary fence installed - Stone being stockpiled for the reinforced Earth walls.
Stone stockpiled on the North abutment
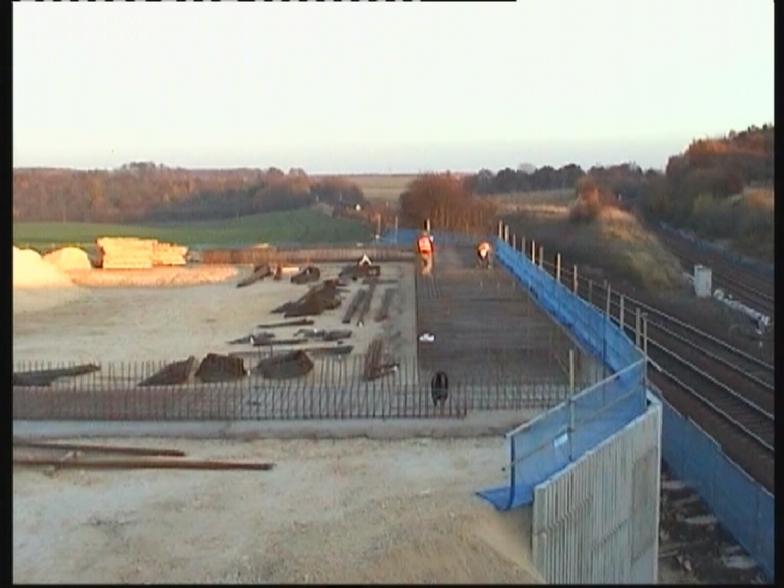
Bulk dig completed with fences erected ready for Reinforced concrete wall.
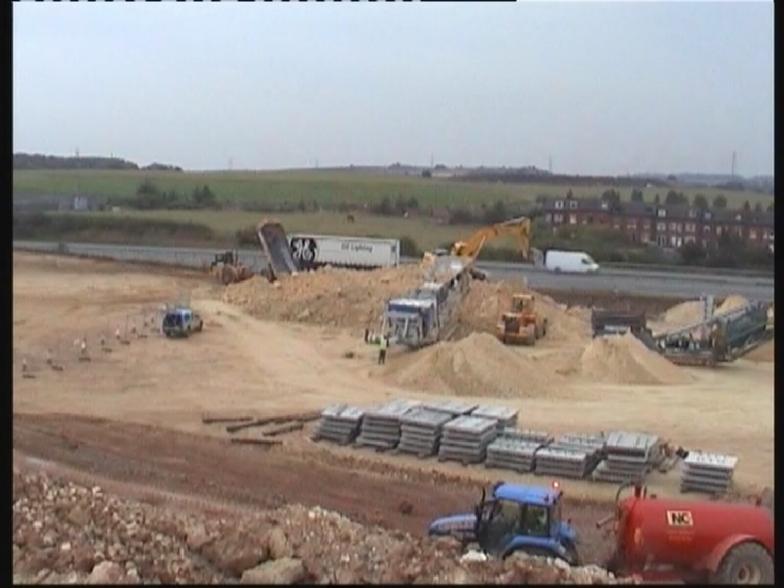
South abutment stone being crushed - graded and stockpiled.
Stone being crushed graded and stockpiled - Concrete panels being being stacked up ready to start the concrete retaining wall.
Stone being crushed + panels stockpiled.
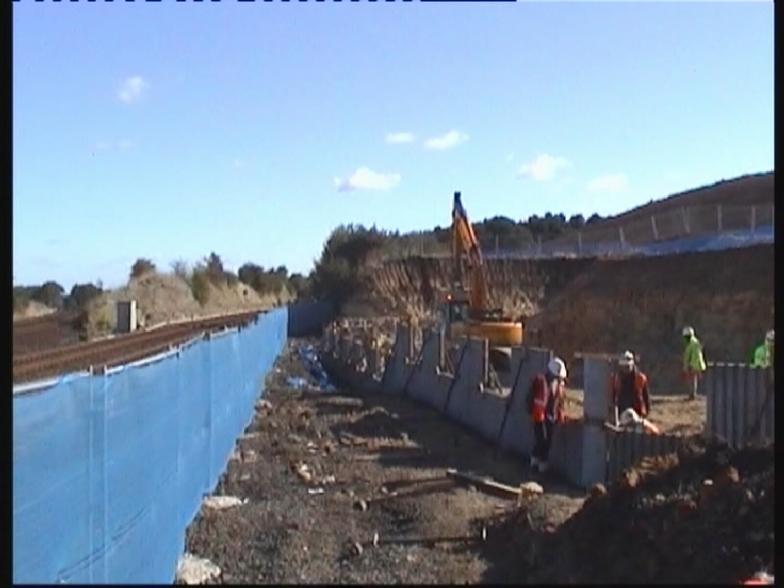
Gatwick Rail erecting reinforced earth panels. On the South Abutment.
North Abutment - reinforced earth panels being erected and aligned using the acow props.
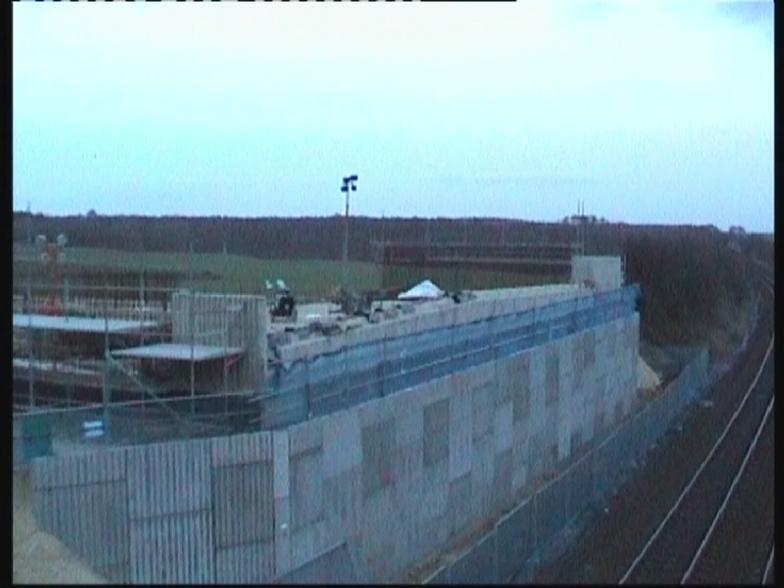
Reinforced Earth abutments works progressing on both the North and South abutments.
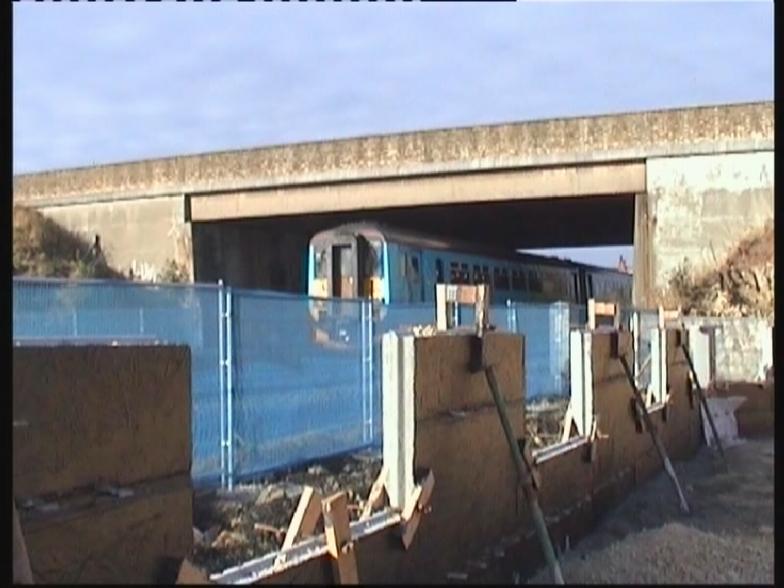
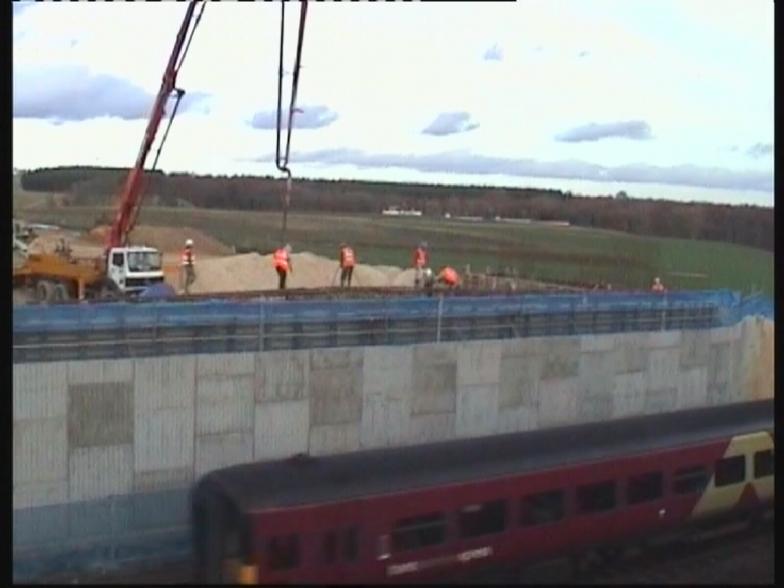
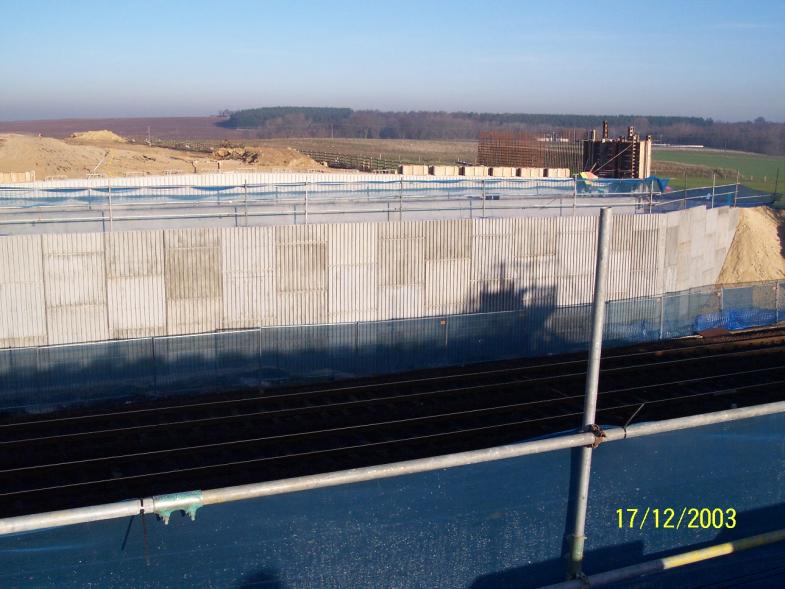
Reinforced Earth walls progressing during normal working with trains running at all times.
North Abutment - Reinforced earth completed and top surface levelled ready for blinding concrete.
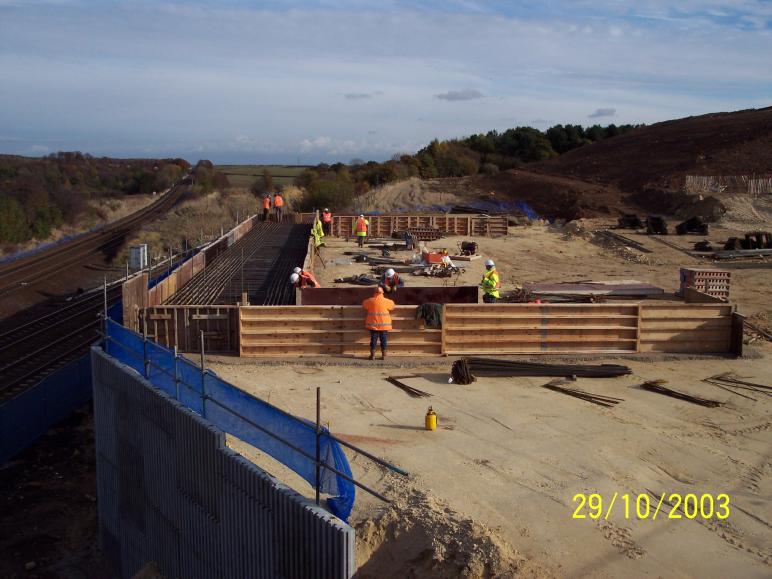
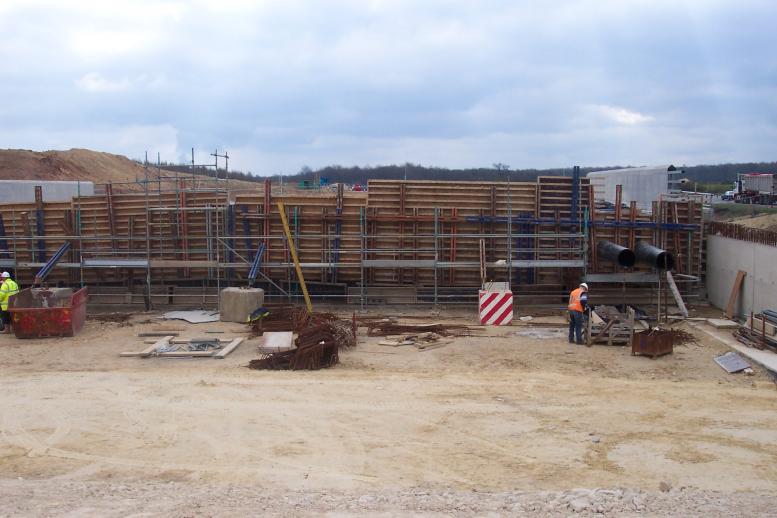
Southern abutment - reinforcement and Formwork being fixed ready for concrete.
North Abutment - concrete blinding laid - steel fixing in progress
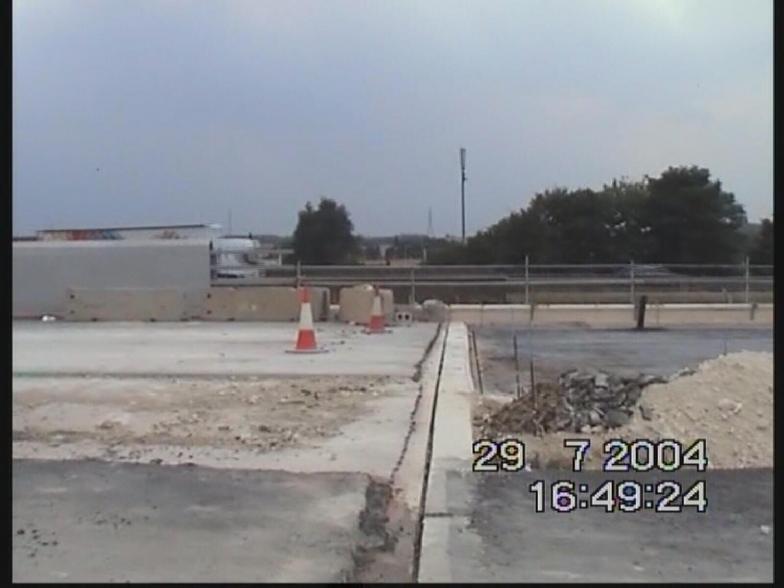
Southern abutment concreted - ready for concrete plinths and wingwalls.
North abutment base - being concreted.
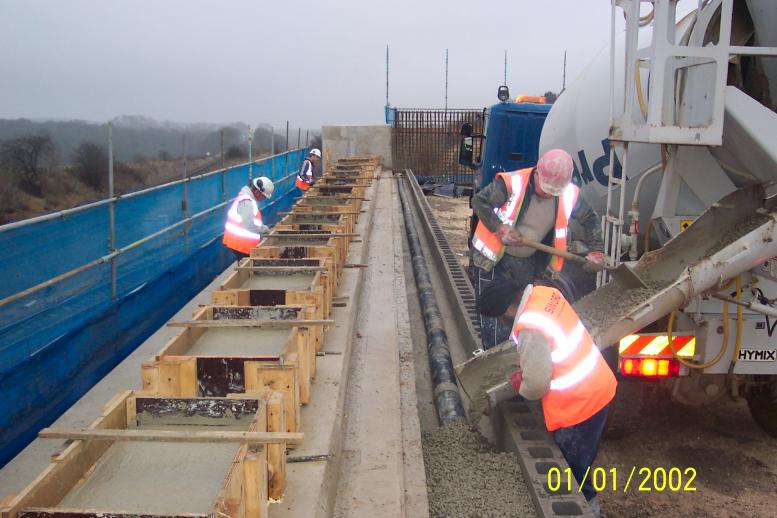
Southern abutment - concrete bearing plates being cast. No fines concete being placed from the back of the wagon - formwork created with concrete blocks.
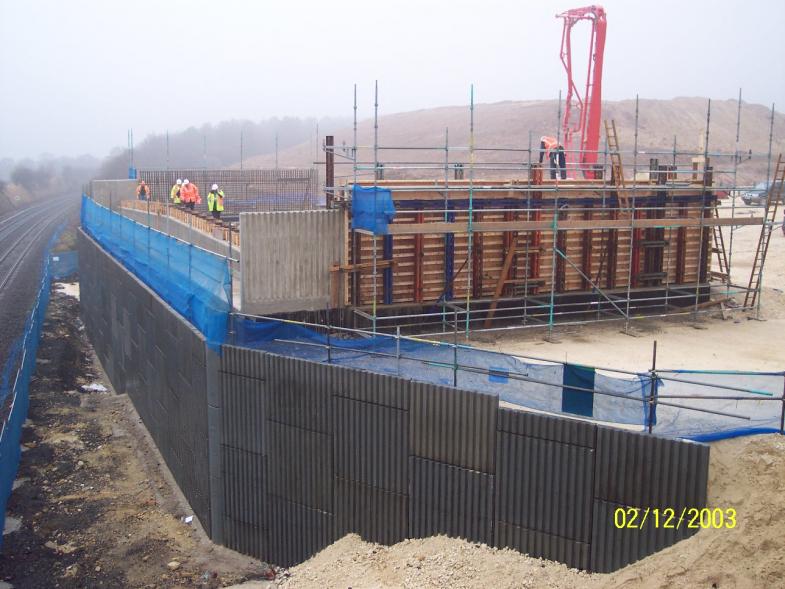
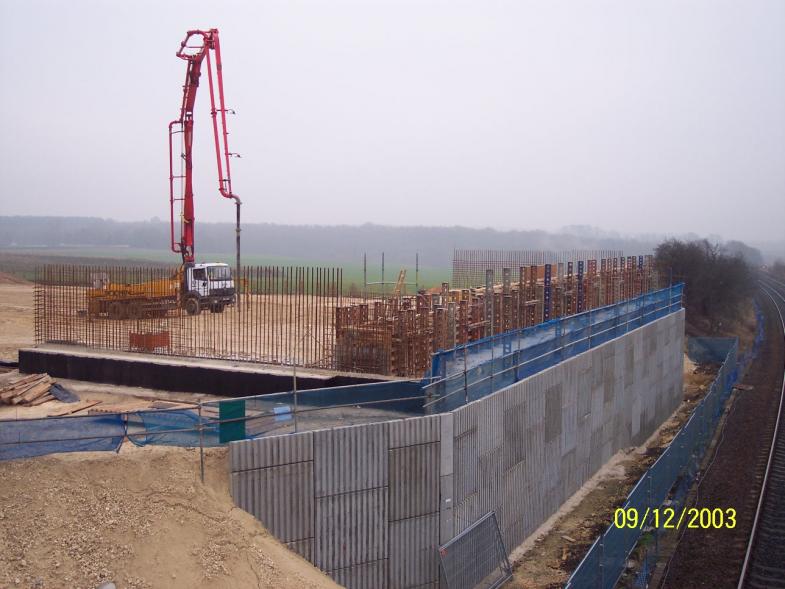
Wingwall formwork set up - with pump ready to place concrete.
North Abutment - base cast. North abutment formwork being rected ready for concrete.
North abutment formwork set up ready for concrete.
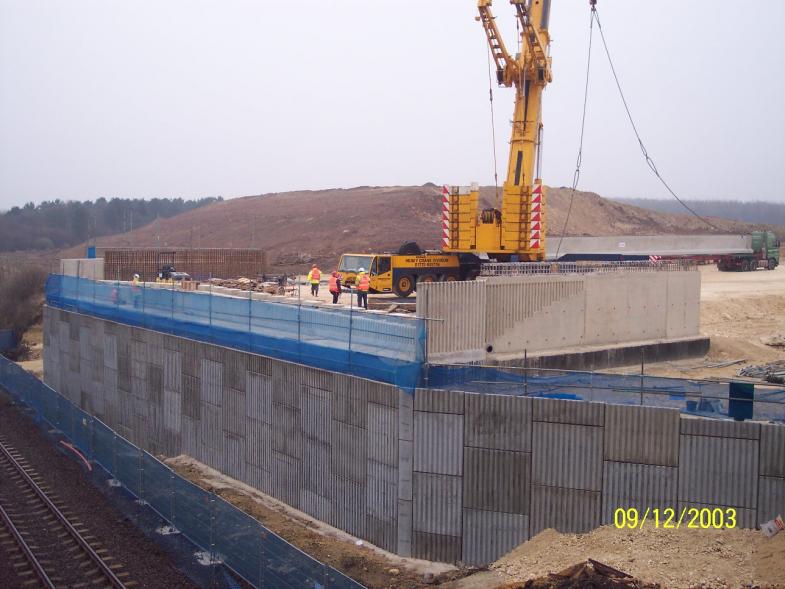
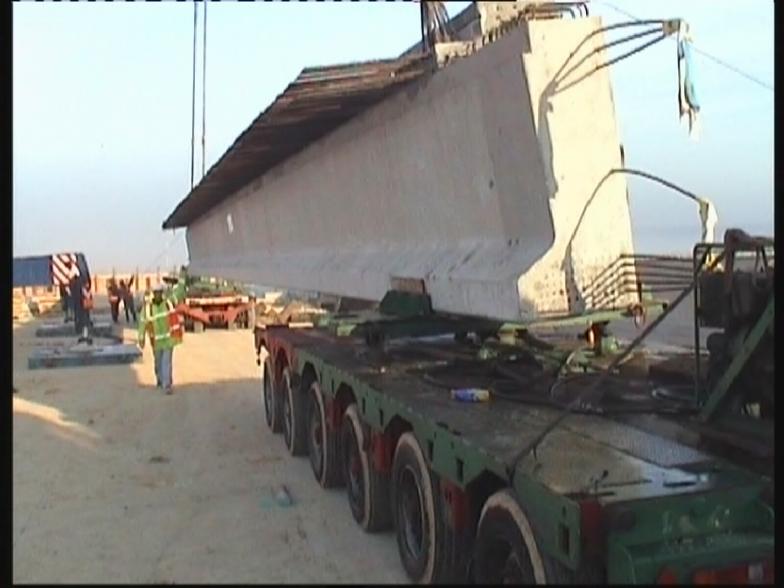
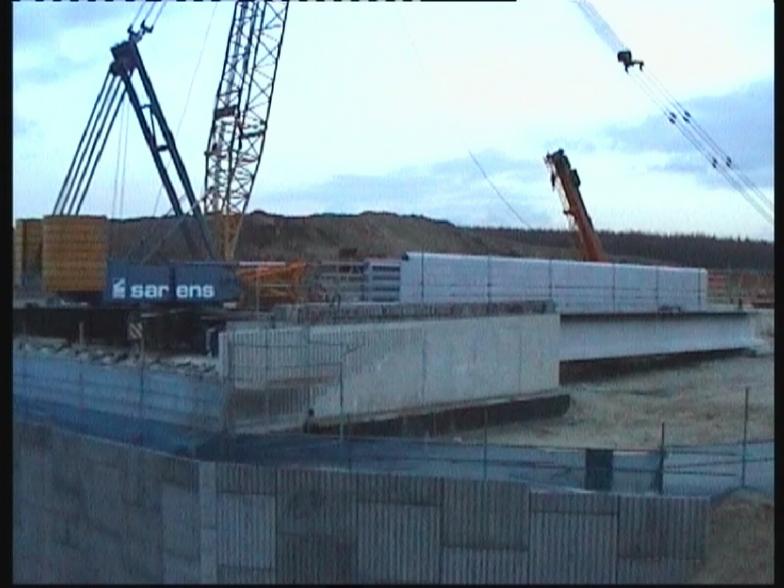
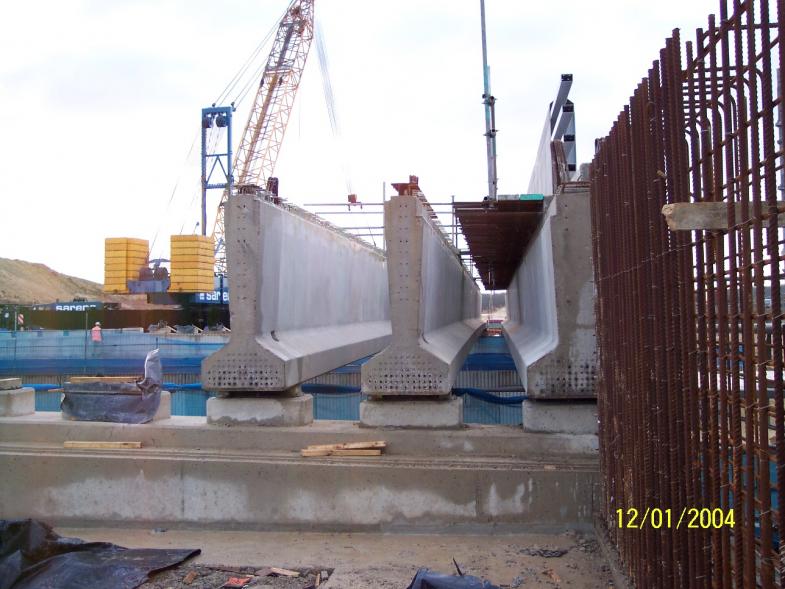
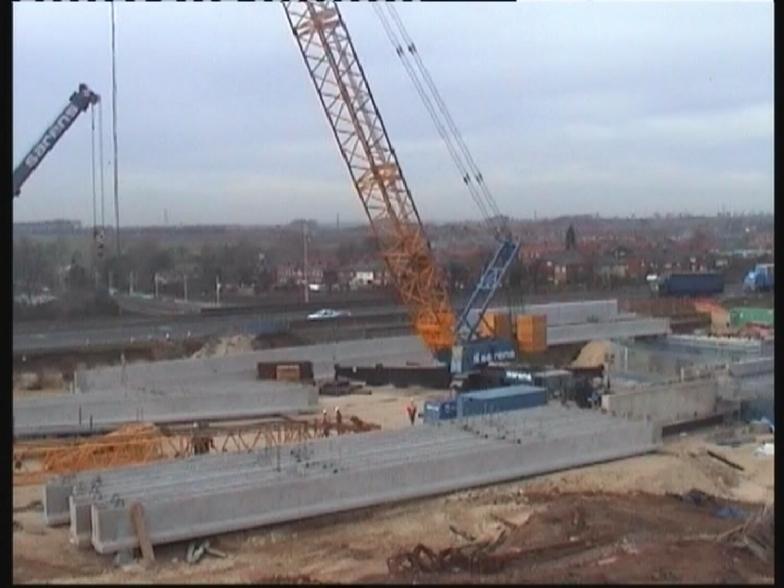
Crane off loading concrete beams - Note the cheek walls cast on the abutments.
Crane off loading beams.
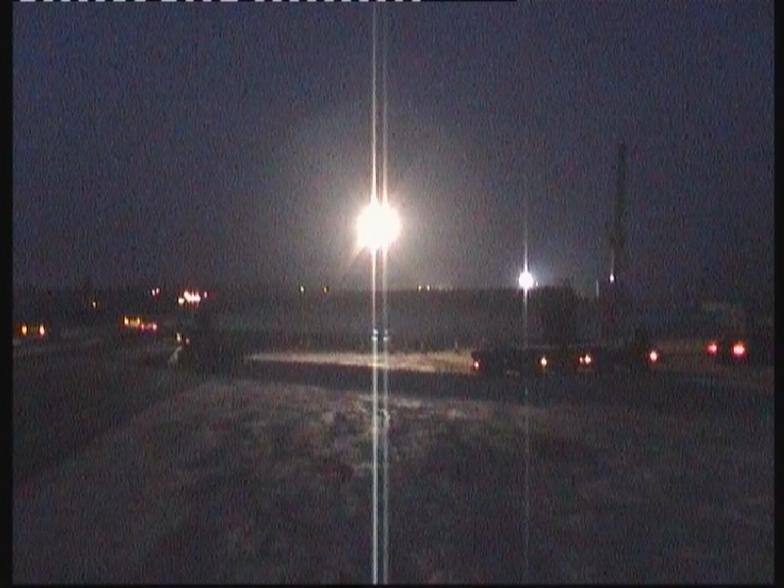
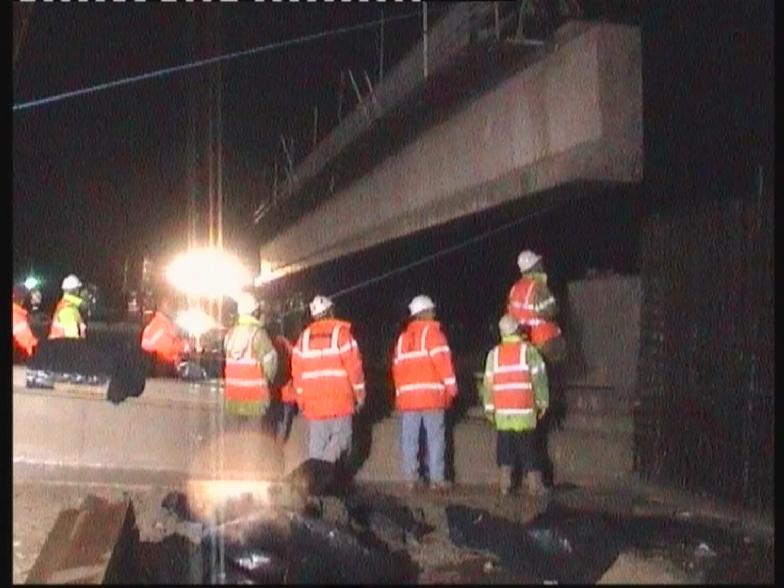
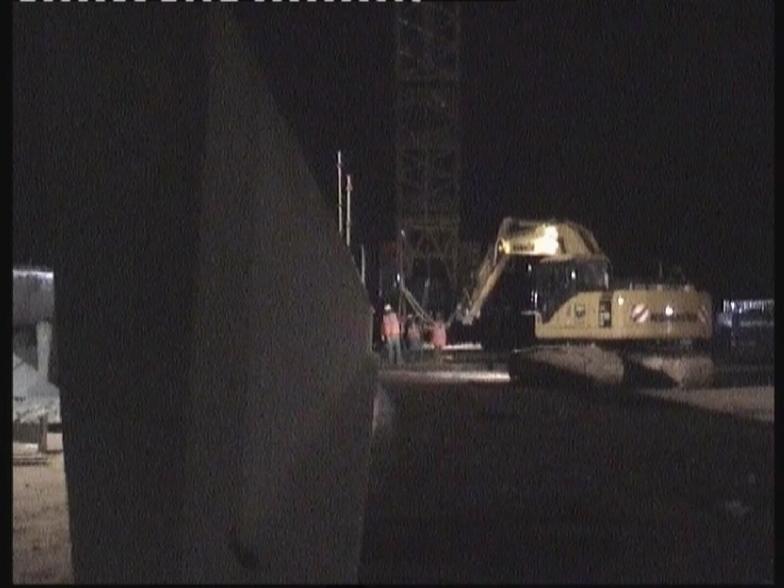
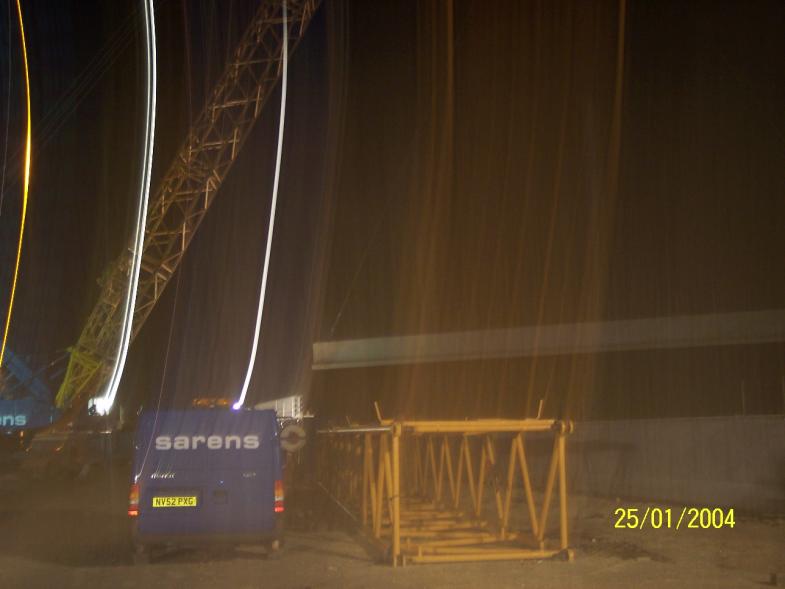
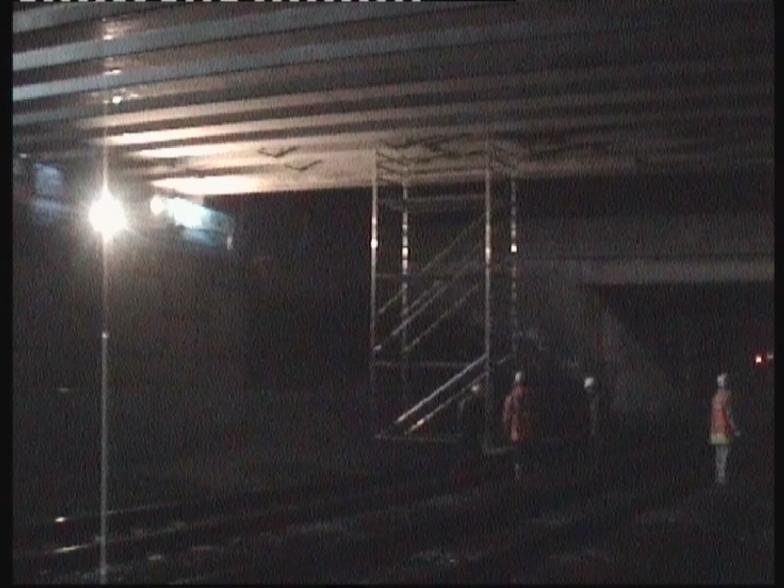
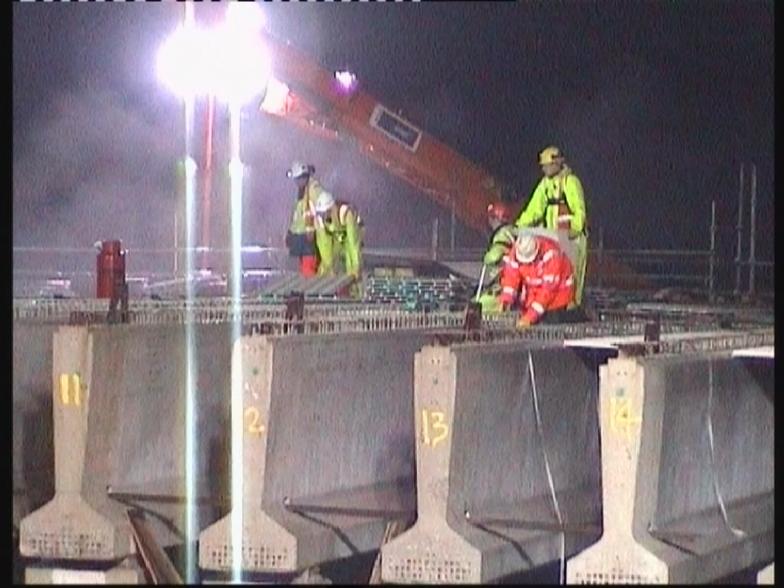
Edge beams being delivered at night under traffic management bringing them in of the A1M South.
Edge beam being lifted clear of the delivery wagon - Dean Rose controlling the lifting operations.
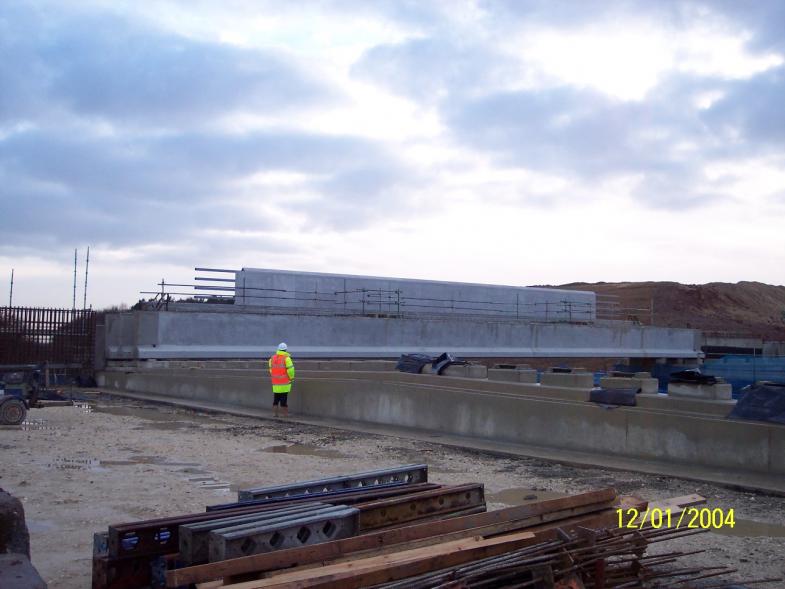
Edge beams being set up onto two concrete stillages.
Works progressing on the south abutment.
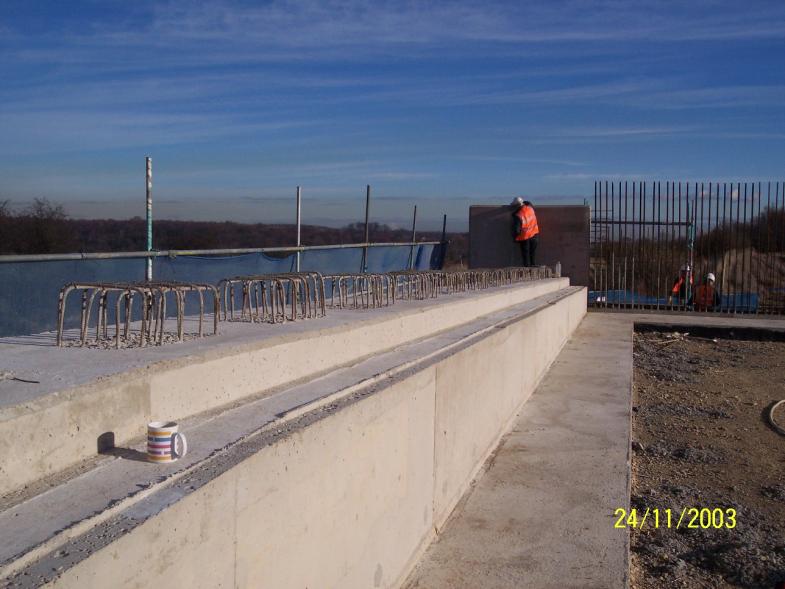
H4a parapet posts being set up on the edge beams.
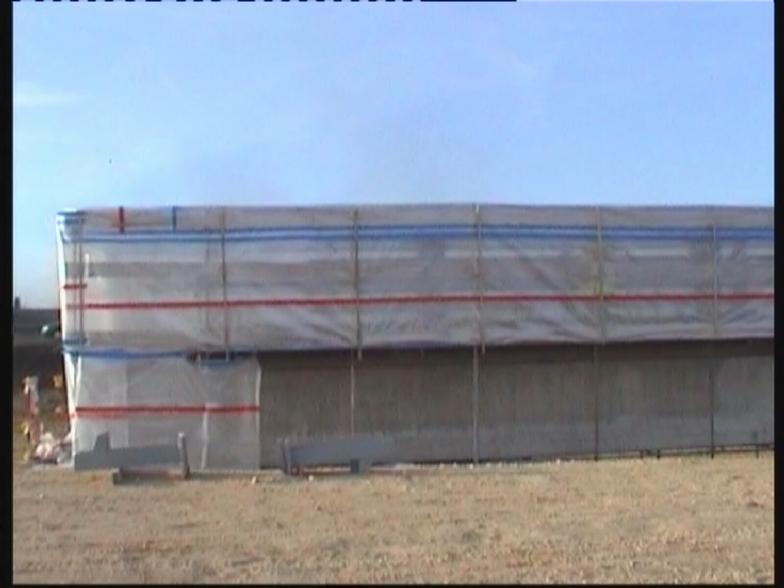
Tent installed to enable the parapets to be painted.
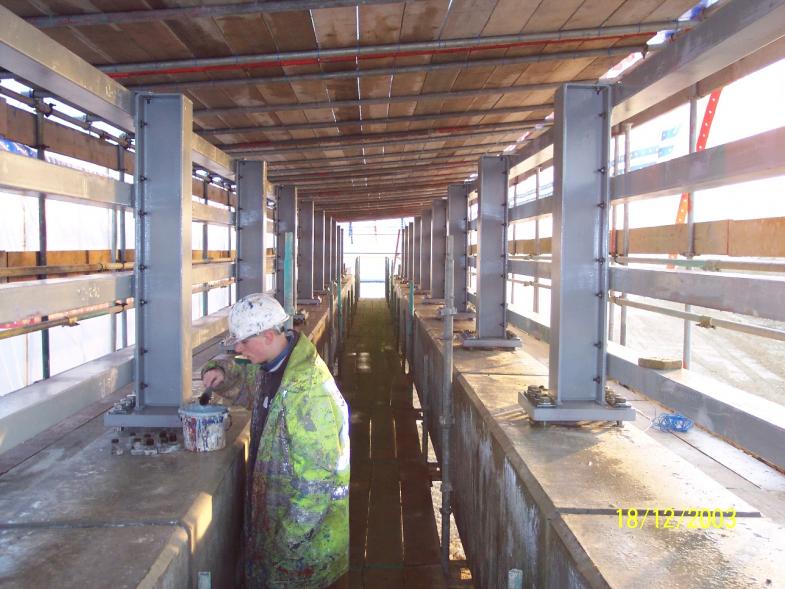
Balmer Lindley installing the H4a parapets - paint being applied.
North abutment - cheek wall formwork being put in place + final section of concrete plinths.
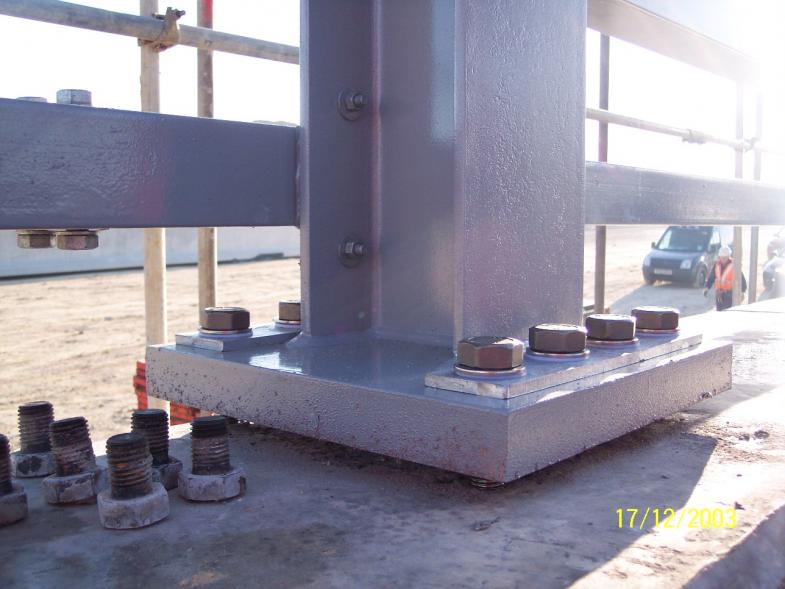
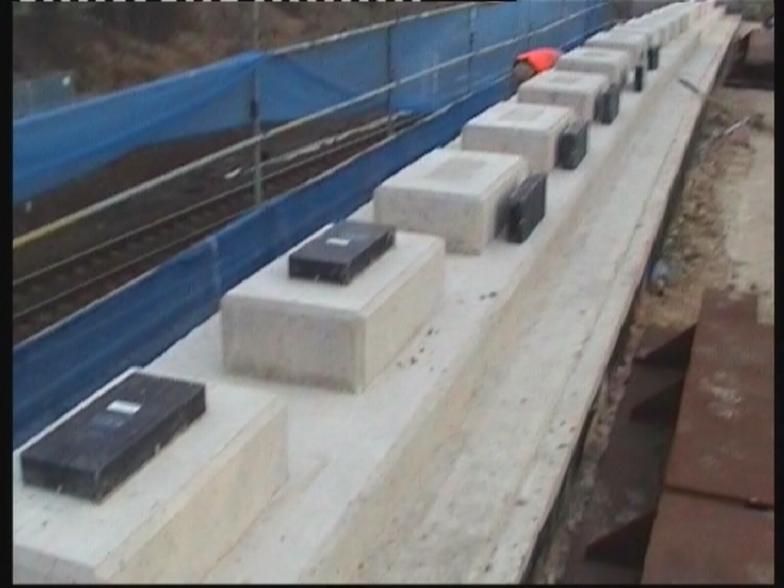
Elastomeric bearings being set up on the concrete plinths.
North Abutment works in progress - Cheek walls complete + bearing plinths ready.
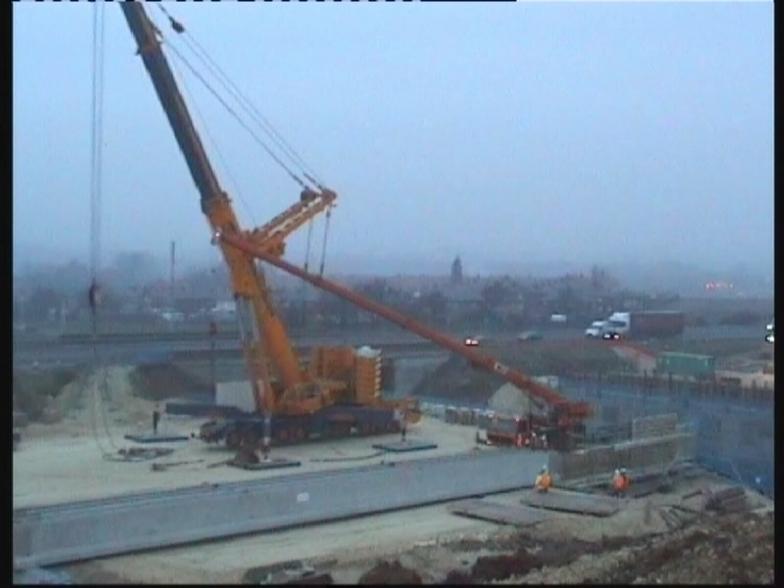
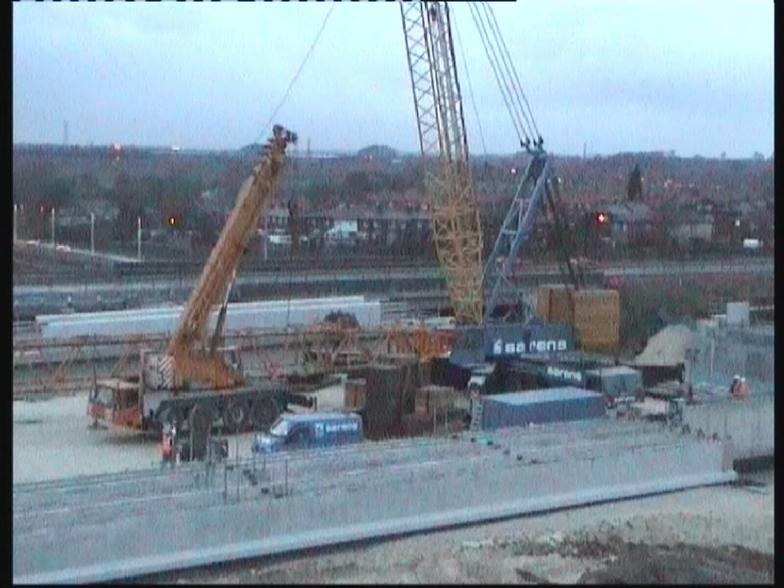
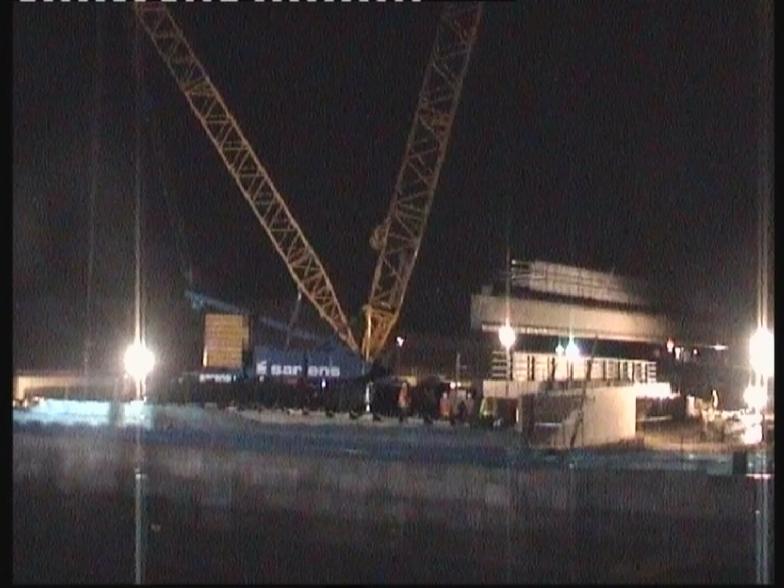
Sarens Crane being built up on the South Abutment.
Crane being being rigged ready for lifting.
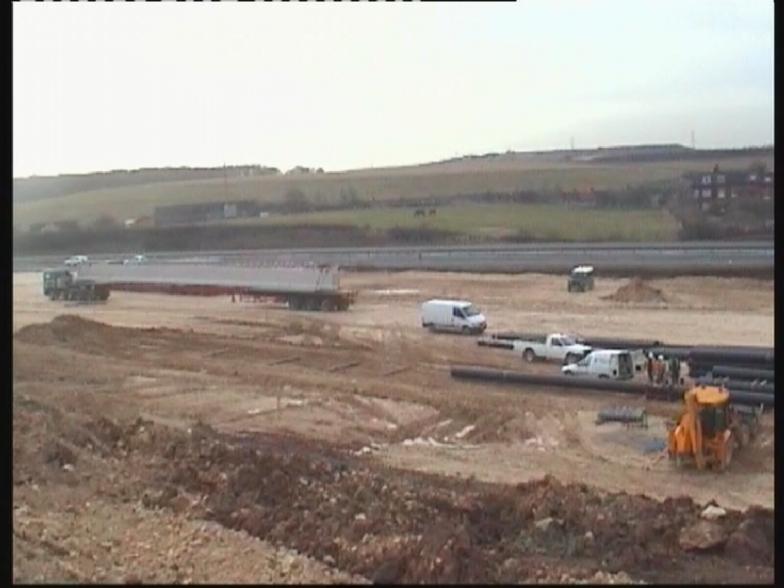
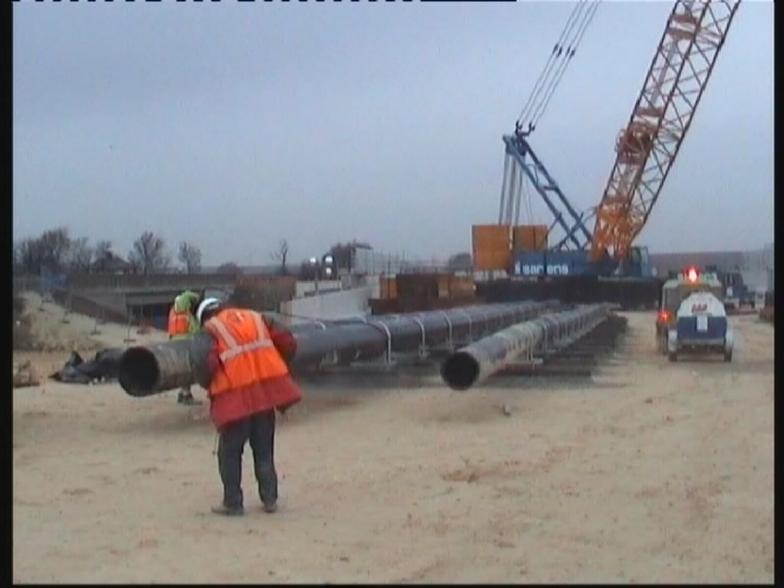
Beams being delivered to site ready for off loading.
Crane lifting in the edge beams - TJC 3200. Lifting with superlift.
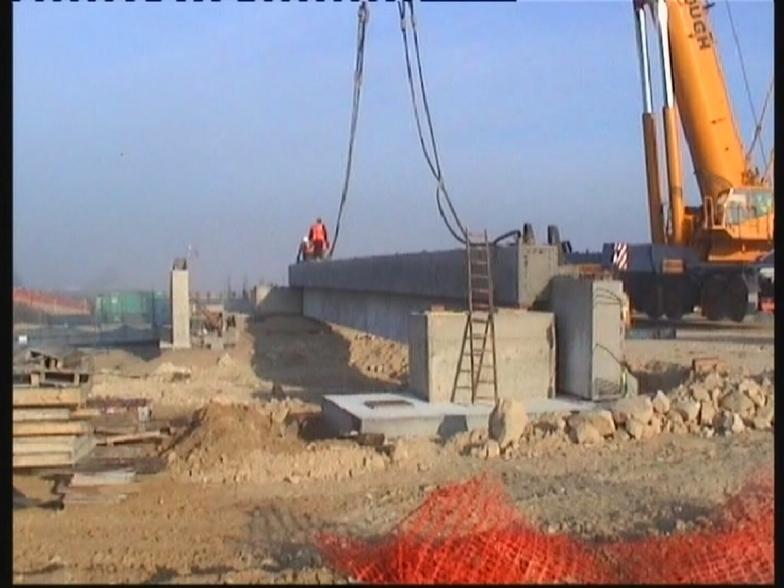
Bridge edge girder being lifted into place. The edge beam being located onto the elastomeric bearing and cheek walls.
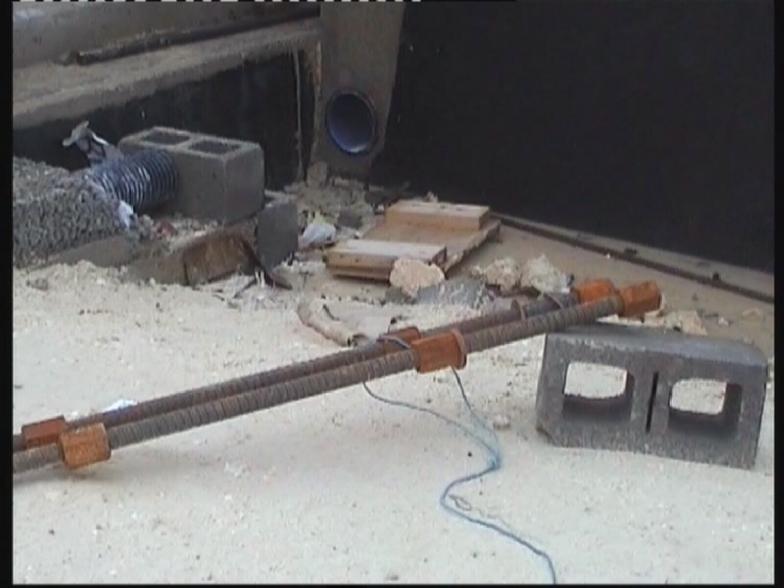
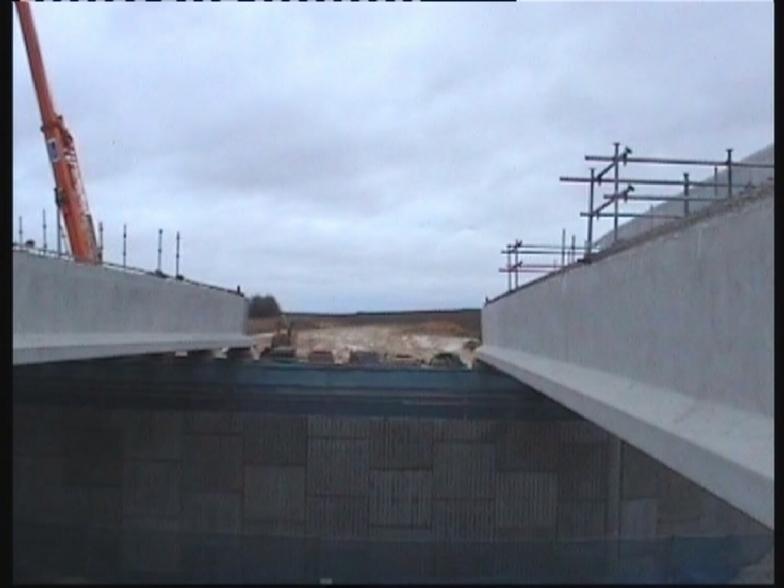
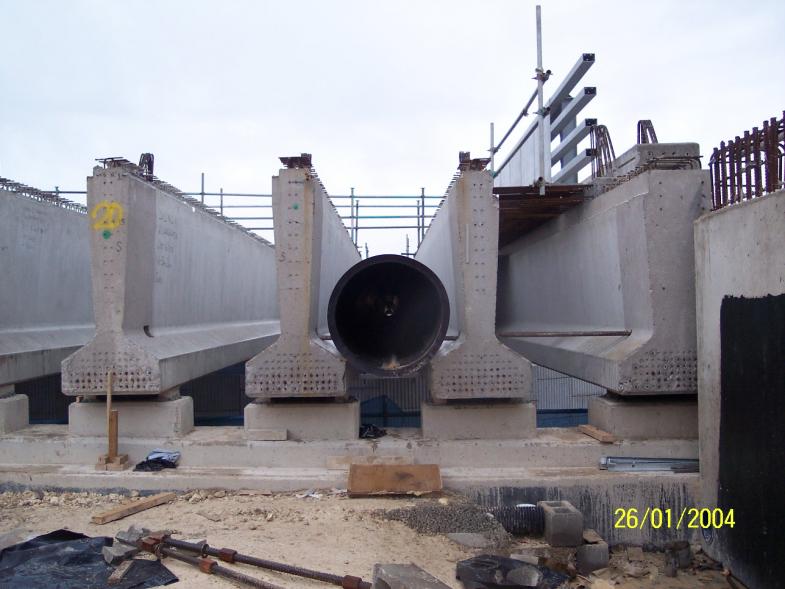
Post Possession - edge beams installed along with five internal beams all locked together with McAlloy bars.
View on the Norh abutment looking over towards the internal beams.
Crane off loading bridge beams - Note the back mast has been removed to enable the crane to work during normal working.
Beams being delivered to site - drainage ducting being fitted out ready for installation between the beams.
2nd possession installing internal beams and walkways installed to connect up the McAlloys between the beams.
360 deg excavator being used to pull the lifting cables between the lifting points.
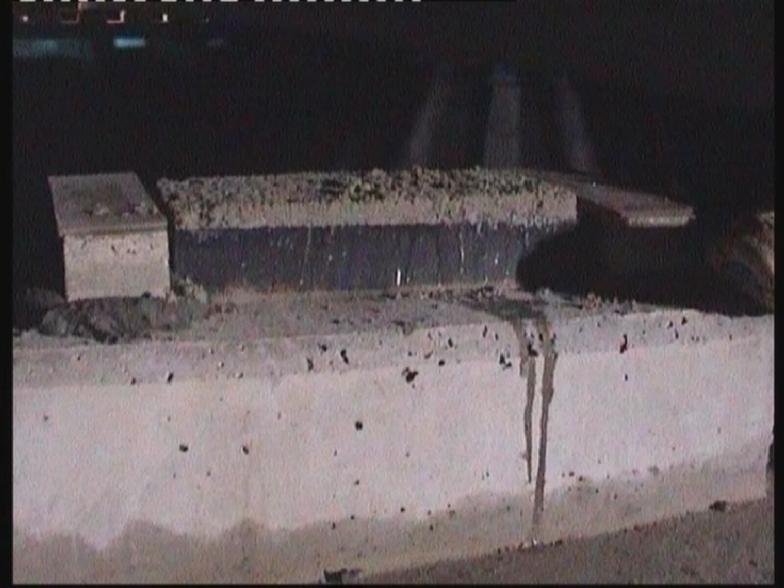
Temporary Blocks being set up with Epoxy (Fosroc) mixed and laid on top of the bearing.
McAlloy bars and fixings made up ready for installation.
Beams installed - Six central beams still to be installed.
Drainage duct being set up for lifting during the possession.
Crane lifting in the final set of beams during possession.
Swords Installing GRP panels - view across the deck looking over the scaffold walkway - Drainage ducting being lifted into place.
GRP being installed + Drainage duct being lifted into place.
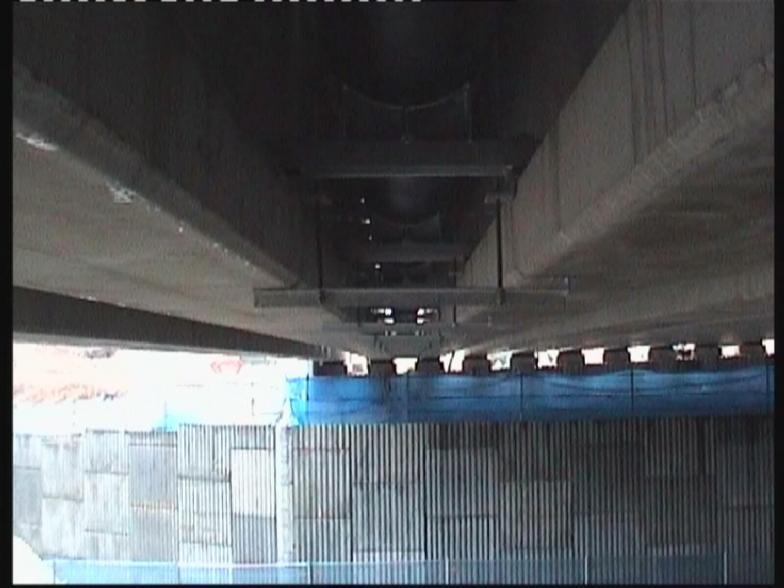
View on the drainage duct installed between the bridge beams.
View at deck level looking across the GRP - Note the lifting loops on the beams - these will eventually be burned off.
Crane with the boom laid flat ready for de-rigging.
Tower Scaffold being used in possessions to connect up the hangers on for the drainage ducts.
Swords installing GRP on the bridge deck in very poor wet weather conditions.
Very heavy rain slows progress in the railway possession.
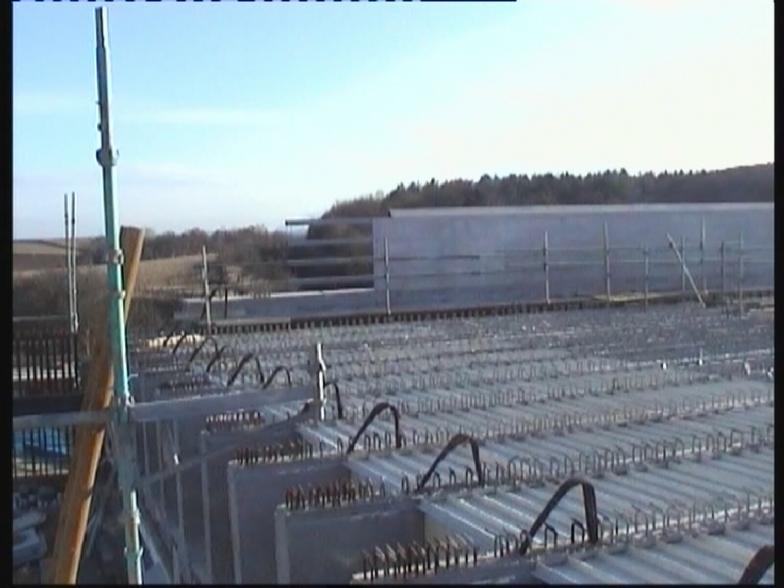
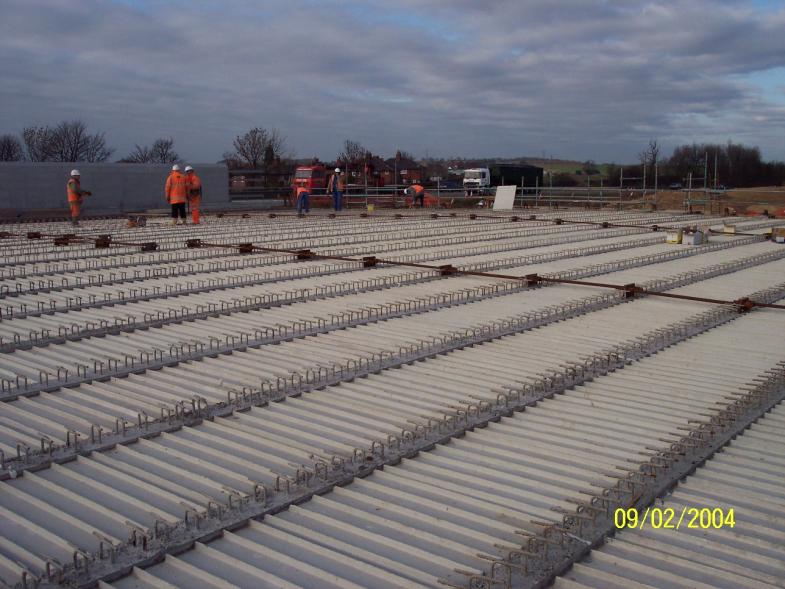
GRP panels fully installed on the deck. Photo shows the McAlloy bars connected up on the deck set on the cast in plate on the beam.
View looking at the connecting detail fixing the drainage duct onto the concrete beams without the need for drilled fixings.
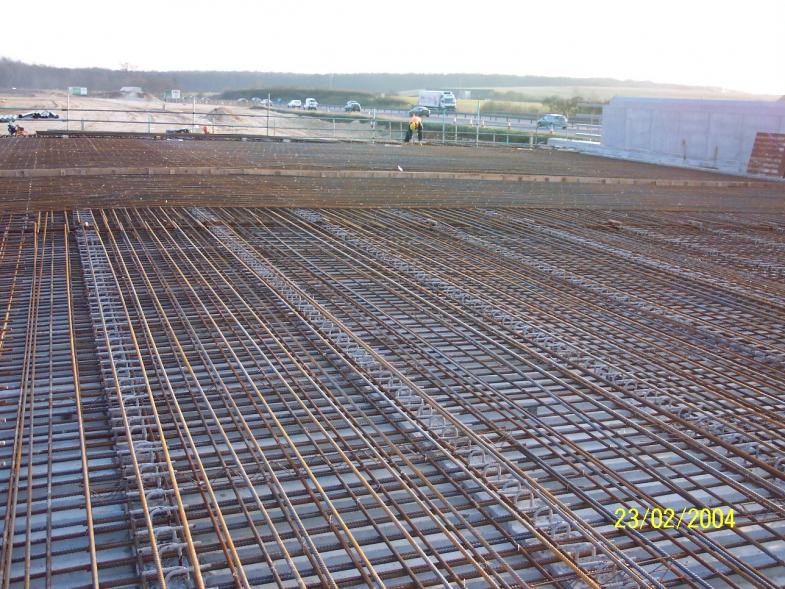
Steel fixing in progress on the bridge deck.
Steel fixing on the deck - stop end being installed on the deck.
Heavy snow slowing progress on the bridge deck.
Steel being fixed to the screen wall - snow on the deck.
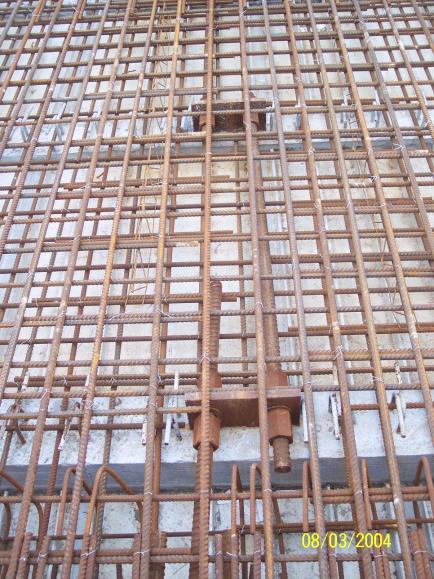
View on the Steel plate cast into the beams with McAlloy bars fixed through the plates.
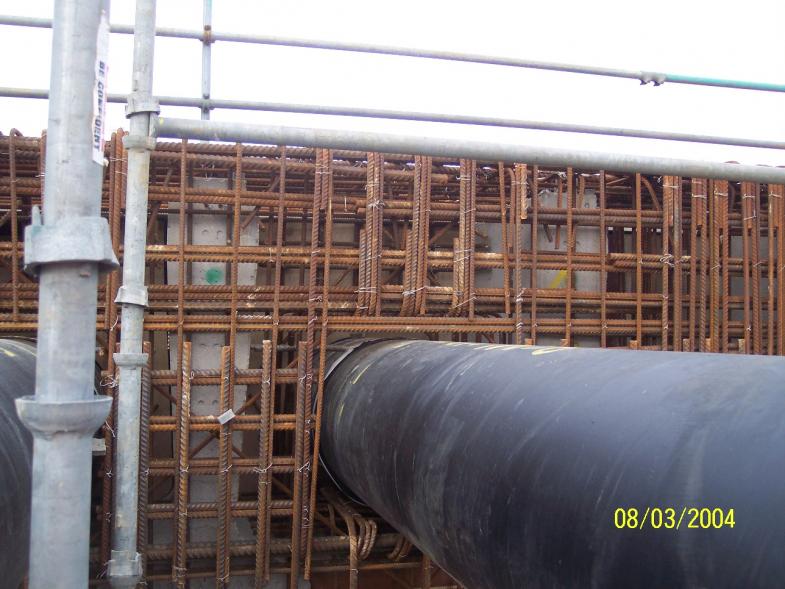
Steel reinforcement fixed to the Screen wall - Note the duct cast in with bars fixed into the top of the duct.
Formwork being erected to the Screen wall - note the ducts running through the Formwork.
Formwork set up on the deck ends - Steel fixed on the deck.
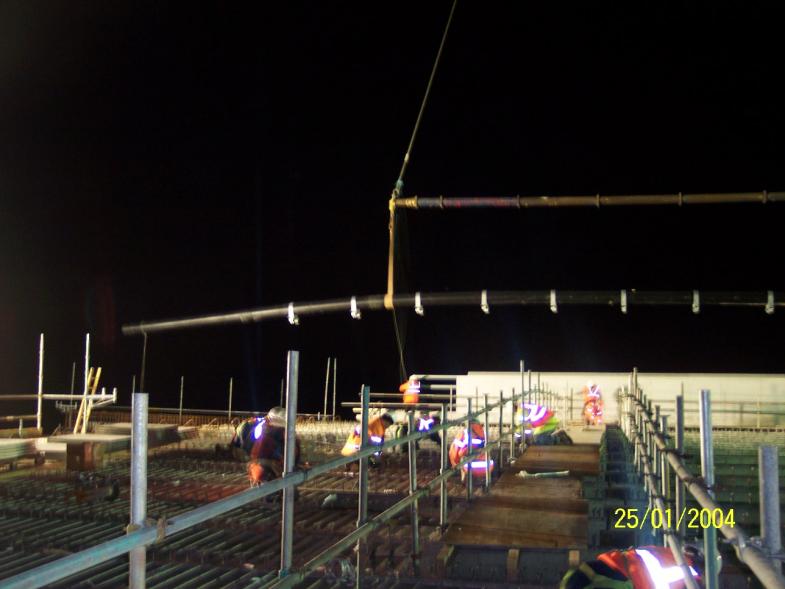
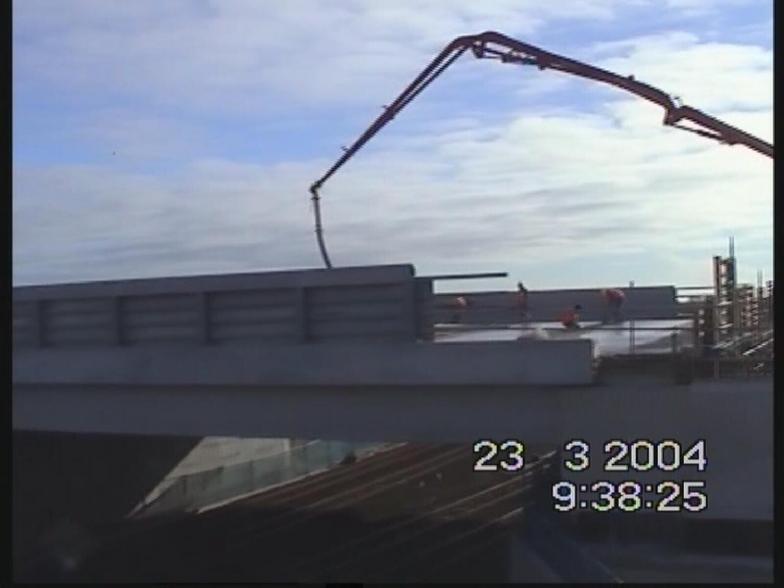
Deck being cast during normal working with the concrete pump placing concrete from the Southern abutment.
Concrete pump placing concrete on the deck - during normal working.
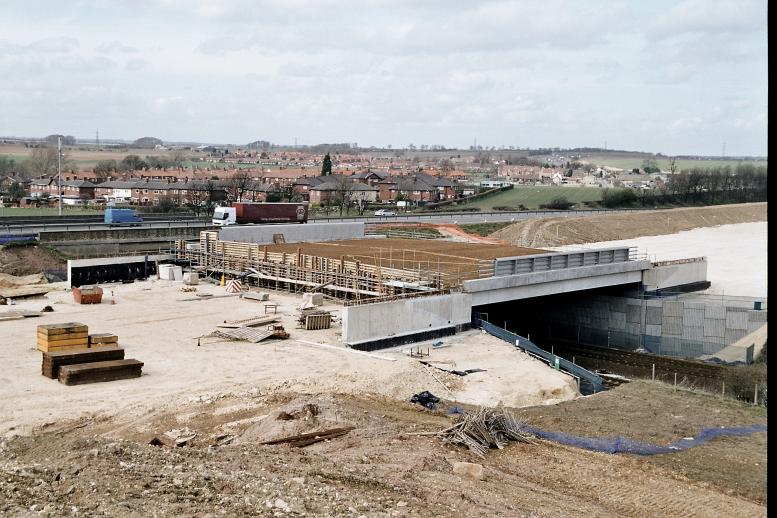
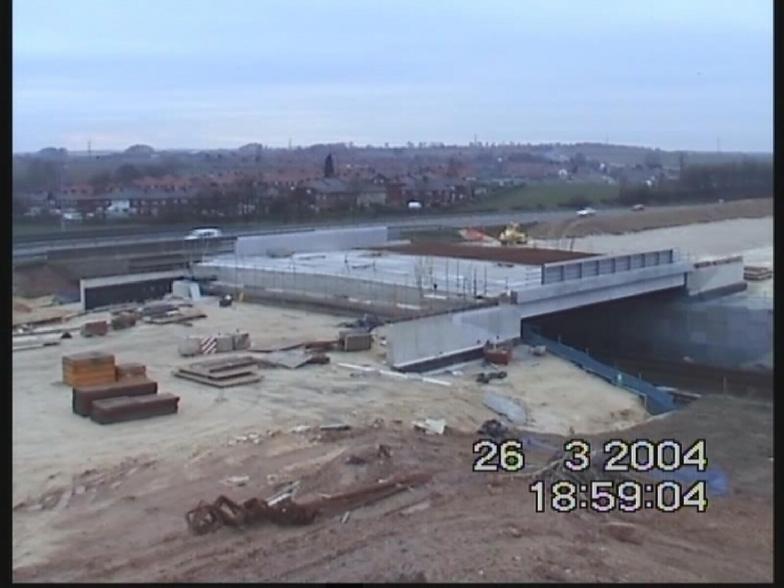
South end of the bridge deck and screen wall cast - with formwork removed.
North Screen wall and deck being concreted - concrete pump located at the south abutment - concrete being placed during normal working.
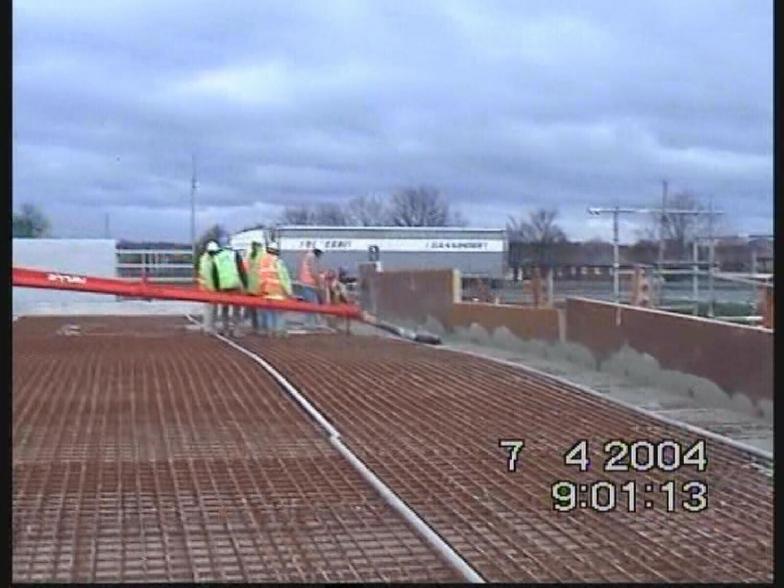
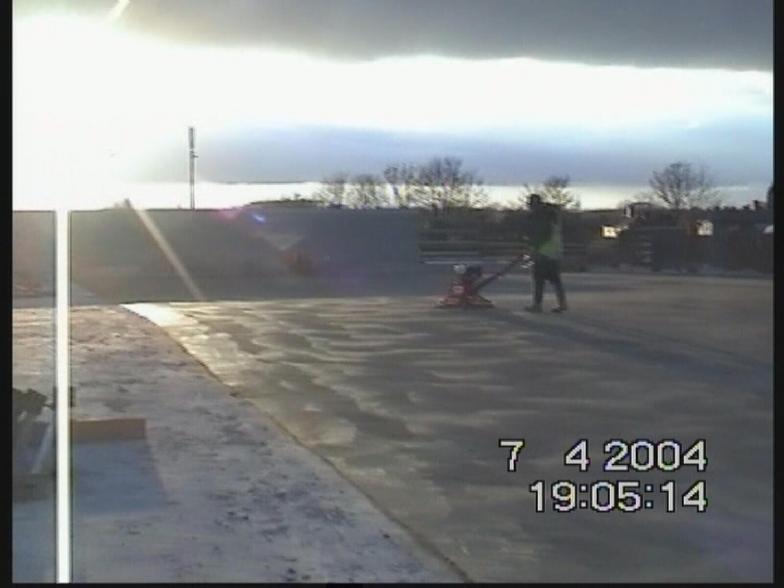
Concrete deck being power floated.
Concrete covered over to provide protection from wind and low temperatures.
Forework stripped out form the North abutment screenwall. View on the cheek wall with the hardwood timber wedges supporting the edge beams.
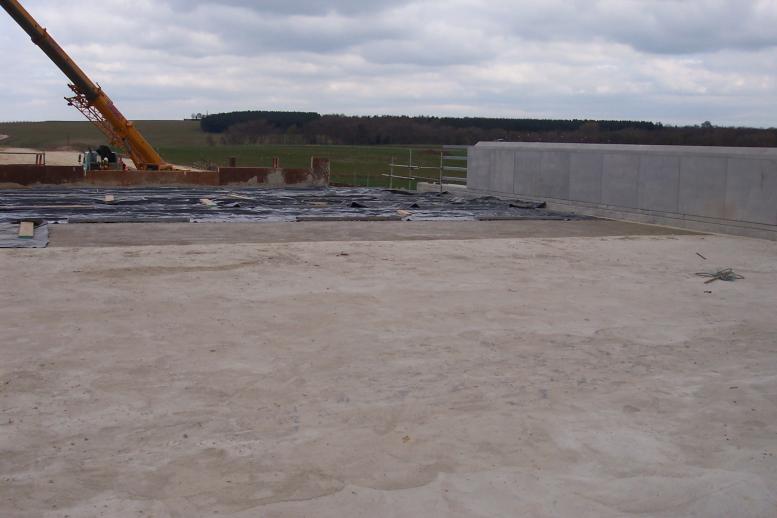
Bridge deck waterproofed and tack coated. - note the parapet sheeted in.
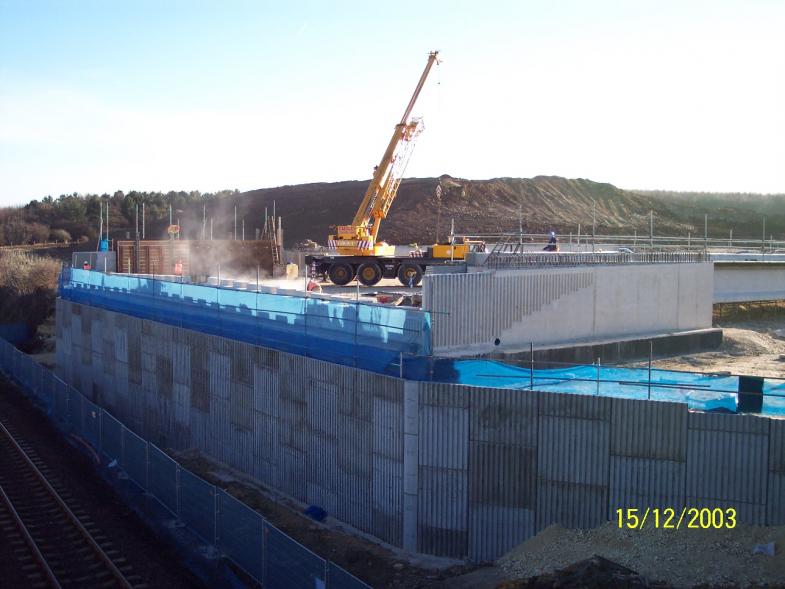
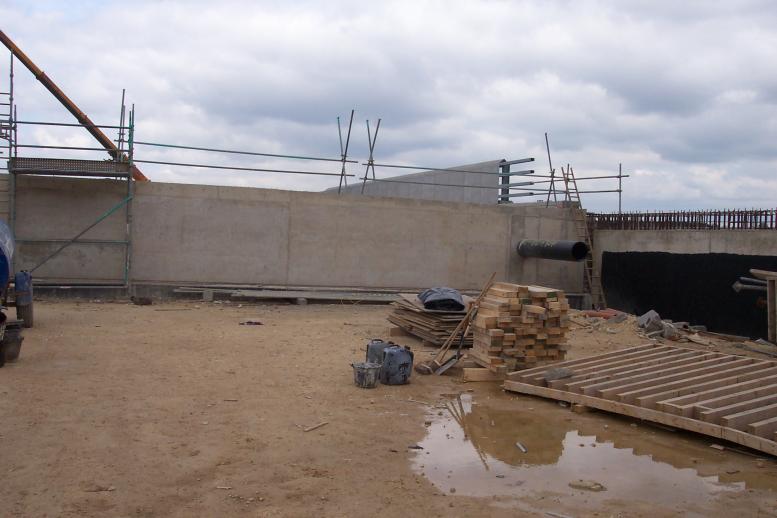
Wingwalls and parapets being constructed - Note the temporary haul road constructed over the deck.
Concrete rolling block cast on the end of the deck.
Rolling blocks completed on the North end of the deck. Sand carpet being broken back to enable bridge joints to be installed.
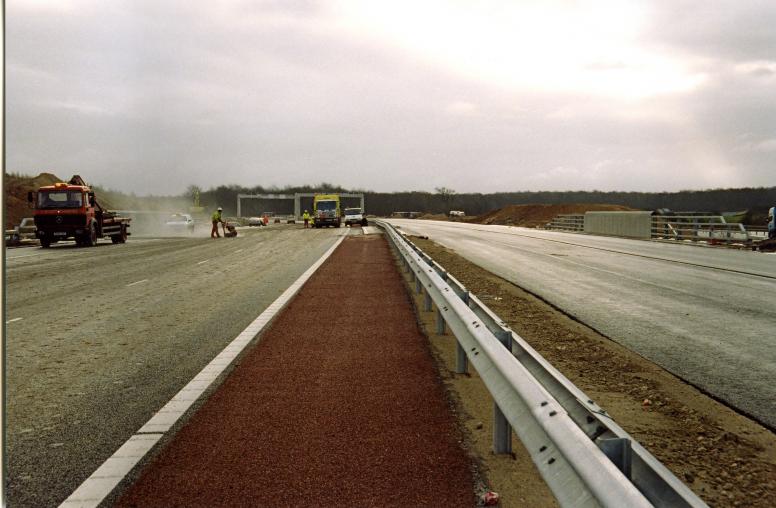
Buried joint top cuts being formed in the wearing course. The new road nearing opening.
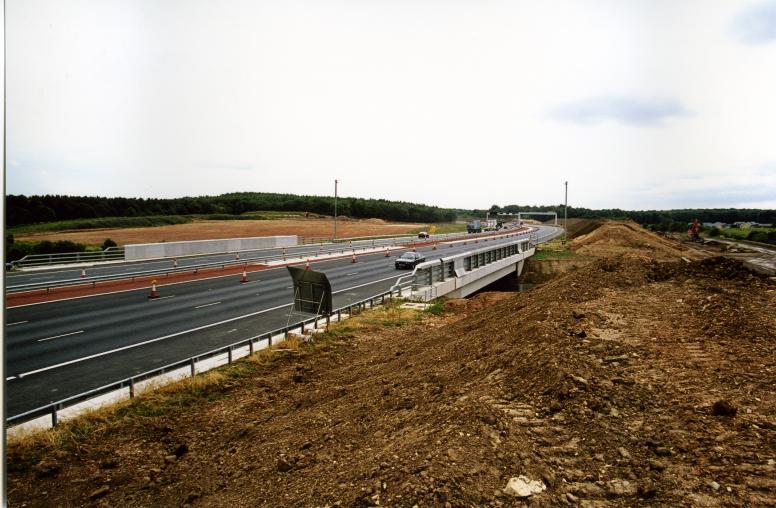
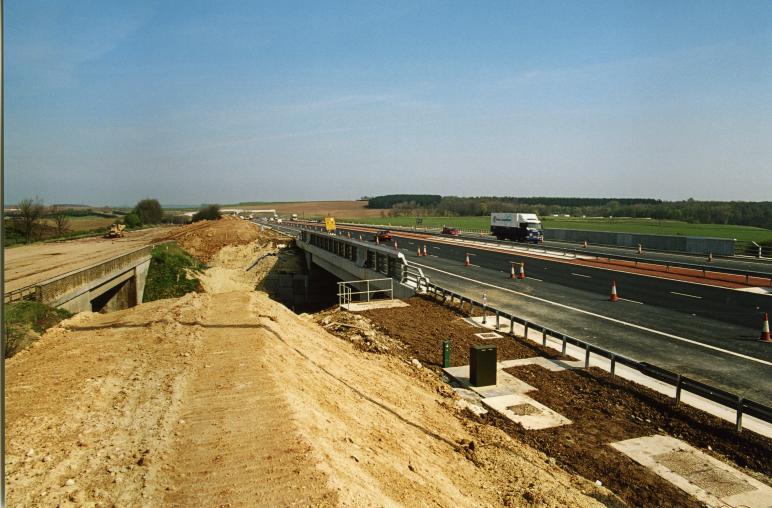
Bridge open to traffic with parapets completed and safety fence installed.
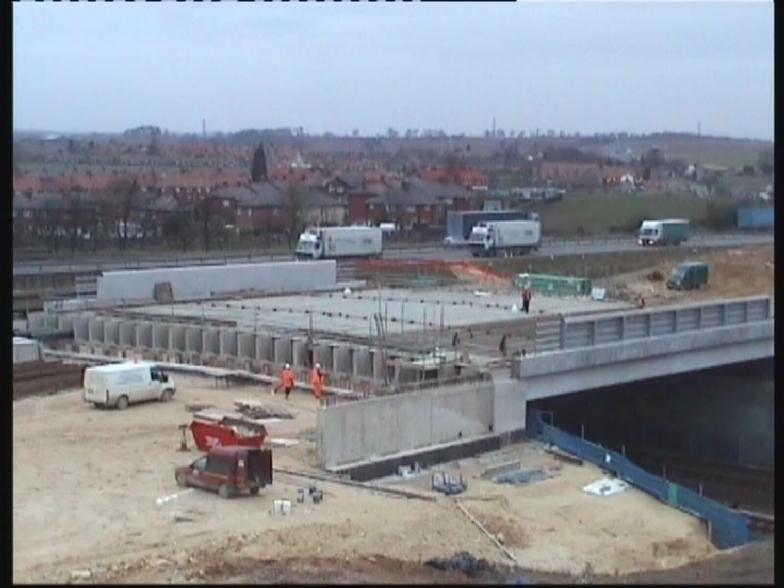
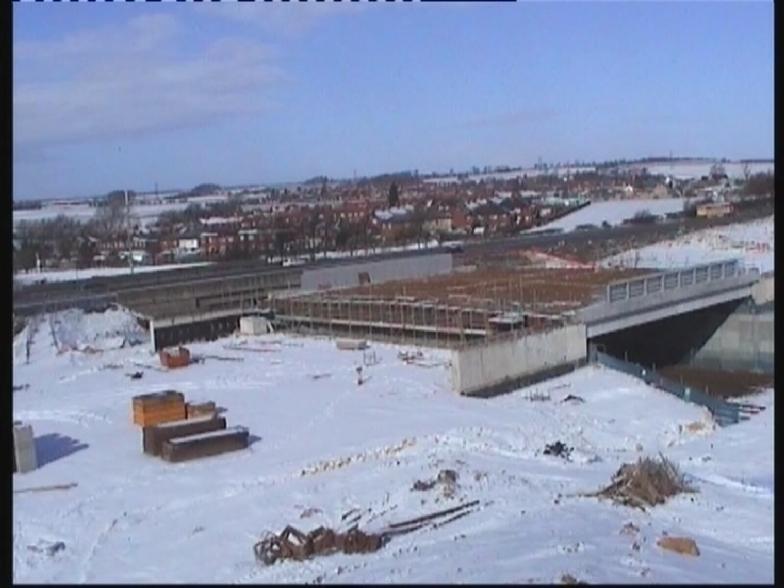
View on the New structure with the bridge open to traffic. The old structure no available for demolition.